Friday, June 21, 2013

Oliver Friday: A moment of bravery.


Thanks so much for visiting Quinnstitch. I really appreciate everyone who reads and comments. If you like what you've seen here, please follow me on Facebook and Pinterest to receive updates.

facebook-like-me-button1         Follow Me on Pinterest

Thursday, June 20, 2013

Gingersnaps with Fresh Ginger


Welcome to BAKING THURSDAY!  Lately I've been trying out some themed days of the week for Quinnstitch.  I wanted to see if I could actually keep up with it AND have a way to showcase all the different things I do for this blog and in my day to day life!  So yesterday on my Facebook page, I asked you guys what you'd like to see me bake today.  Gingersnaps were thrown out there, and I thought it'd be a perfect treat for today!

So, I have a question for you.  Do you ever have a recipe in mind, and then you go to the store to get some missing ingredients, and then when you get home you realize that you forgot to get something?  That is the absolute WORST and I did it today!  I headed to the store to get fresh ginger and molasses, not realizing that I was almost out of butter and I had no ground ginger.  Luckily, I found a recipe that only uses fresh ginger and I had juuuuust enough butter to eke out a half recipe.  And I didn't have to go back to the store, yay!

I looked around a bit for a good gingersnap recipe, seeing a lot of similarities between a lot of the recipes out there.  Some use molasses, some don't.  Some use just ground ginger, some use a combination of ground, fresh, & candied ginger.  Today, I just used fresh ginger.  I found a nice looking recipe over at Ambika's Kitchen.  I also really liked her recipe because it had a lot of really great tips on it!  I've not really worked with fresh ginger before, and her tip to put in the freezer before grating it was helpful!  I pretty much just used her recipe, substituting Mace in for Nutmeg (because I own mace for ONE recipe, and I thought I could use it with these cookies quite well).

Gingersnaps with Fresh Ginger

courtesy of Ambika's Kitchen by quinnstitch.blogspot.com
yield: about 2 dozen

Ingredients
2 1/4 cups flour
1 tsp baking soda
1/2 tsp salt
3/4 cup unsalted butter (room temperature)
1/2 cup white sugar
1/2 cup brown sugar
1 egg (room temperature)
1/4 cup molasses (unsulphured)
2 tbsp grated fresh ginger
1/2 tsp grated cinnamon
1/2 tsp grated cloves
a pinch of mace
1/2 cup white sugar

Instructions
1. Preheat oven to 350F degrees
2. Sift flour, baking soda, & salt together.  Set aside.
3.  Cream butter & sugars together with hand mixer.  Add egg, molasses, ginger & spices and mix well.
4.  Add flour mixture and combine until all flour is absorbed well.
5. Chill dough for 1 hour.  Meanwhile, line a baking sheet with parchment paper (or ungreased cookie sheet)
6.  Form dough into 1 1/2 inch balls.  Roll the dough in the white sugar so all sides are covered.  Put on the cookie sheet at least 1 1/2 inches apart, as they will expand as they cook.
7. Cook for 14-15 minutes, when edges start to brown.  Remove to cool on a cooling rack.

If you'd like to see something baked next week for Baking Thursday, please let me know in the comments!  If you like what you've seen here, please follow me on Facebook and Pinterest to receive updates. 

facebook-like-me-button1         Follow Me on Pinterest

Wednesday, June 19, 2013

The Bob Dylan Quilt Series: Cutting & Interfacing


It's crafting Wednesday again!  Time to see how much progress I've made on the Bob Dylan T-Shirt Quilt.  If you haven't seen the first installment, Set Up & Prep, you might want to see how we got to this point.  This week I've been focusing on cutting out the pieces of the quilt, and getting them ready to put together.  Let's take a gander back at the original plan:


You can see as before, I've mapped out how many inches I'd like the finished product to be.  However, we have to cut each piece a little bigger so when we sew it together, it will still be only 40'" x 50".  I'm allowing for a 1/2 of an inch seam allowance, which means with two edges, each width or length will be cut 1" wider than what I have drawn above.  For example, I have each t-shirt rectangle as 12" x 14".  However, I will cut the t-shirts into rectangles of 13" x 15" with the seam allowance.

In the upper right hand corner, you'll see that I have mapped out the dimensions for all the pieces of gray fabric that will be going between the t-shirts.  I've noted where seams will be in the gray fabric with the red lines on the plan above.  Each dimension has 1" added to give seam allowance for 1/2" on each edge.

I used my quilter's stencil plastic to make a 13" x 15" guide, so I can try to cut all of the t-shirts the exact same size.  It is important with quilting to be as precise with your measuring and cutting as you can.  With t-shirt fabric, it will stretch, so be careful to not stretch it too much when you're cutting, just lay it flat.

I've started by ironing the t-shirts:


Next, I cut the backs off of the t-shirts, as I won't be needing those.


Now it's time to lay the guide down and start cutting.  I'm making sure that the picture is as centered as possible within the guide, and taking care not to stretch the fabric too much.


 Use a straight edge to cut with your rotary cutter.


There we go!  Looking good.


Now dispose of the rest of the t-shirt.


Here's all the t-shirts cut.


Now the next step is a little tricky.  Because we are working with stretchy and sometimes thin t-shirt fabric, we need something to stabilize the shape.  To do this we use something called fusible interfacing.  I'm not going to go into the directions for you, but I'll send you to the site I googled on how to do it here.  I've tested a strip of the interfacing to see if it would work right by ironing it onto a scrap piece of fabric from the discarded t-shirts:


Now, iron on the interfacing to each rectangle of t-shirt, taking care to not iron the interfacing onto your ironing board cover (like I did on the first one, whoops!), and not to stretch the fabric.  Try to keep it as close as possible to the original shape it was cut.


Now trim the edges:


And here's what it will look like!  Now the fabric won't stretch, which will make the final product more professional looking and less messy.


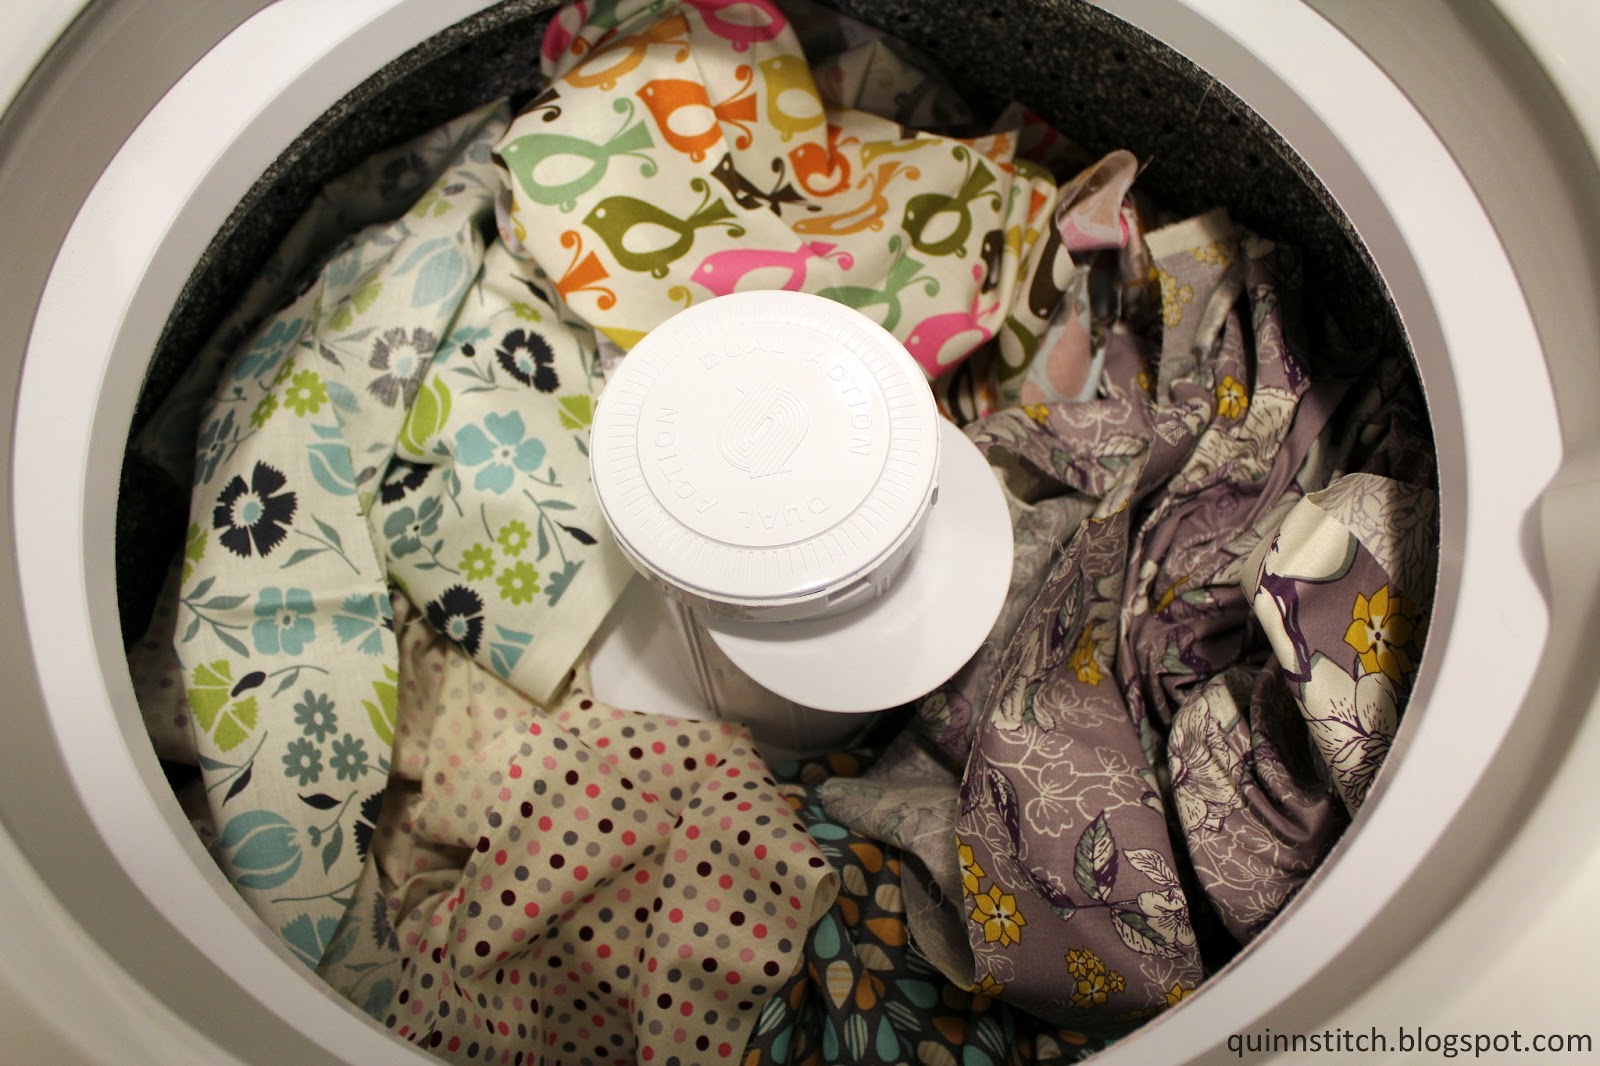
Now at this point, I was going to cut out my extra pieces from the gray fabric, but then I realized that I needed to pre-shrink it.  Why?  Well, 100% cotton fabrics will shrink somewhere from 1/4 to 1/2 of an inch the first time it is washed.  So if you construct a quilt that will be washed frequently, and the fabric has not been pre-shrunk, it will look and fit differently after the quilt is washed.  Luckily I had some other fabric on hand to do this too, so I put them all in the washer and dryer under delicates and low heat.  After this, I will iron out my gray fabric and cut it to the dimensions I have noted on my blueprint/plan.


Coming up this next week, I will start assembling the quilt together!

Make sure to check back weekly on Wednesdays, I'll be posting updates about this project!  And as always, Thanks so much for visiting. I really appreciate everyone who reads and comments. If you like what you've seen here, please follow me on Facebook and Pinterest to receive updates.

facebook-like-me-button1         Follow Me on Pinterest

Tuesday, June 18, 2013

Vegan Quinoa & Black Beans


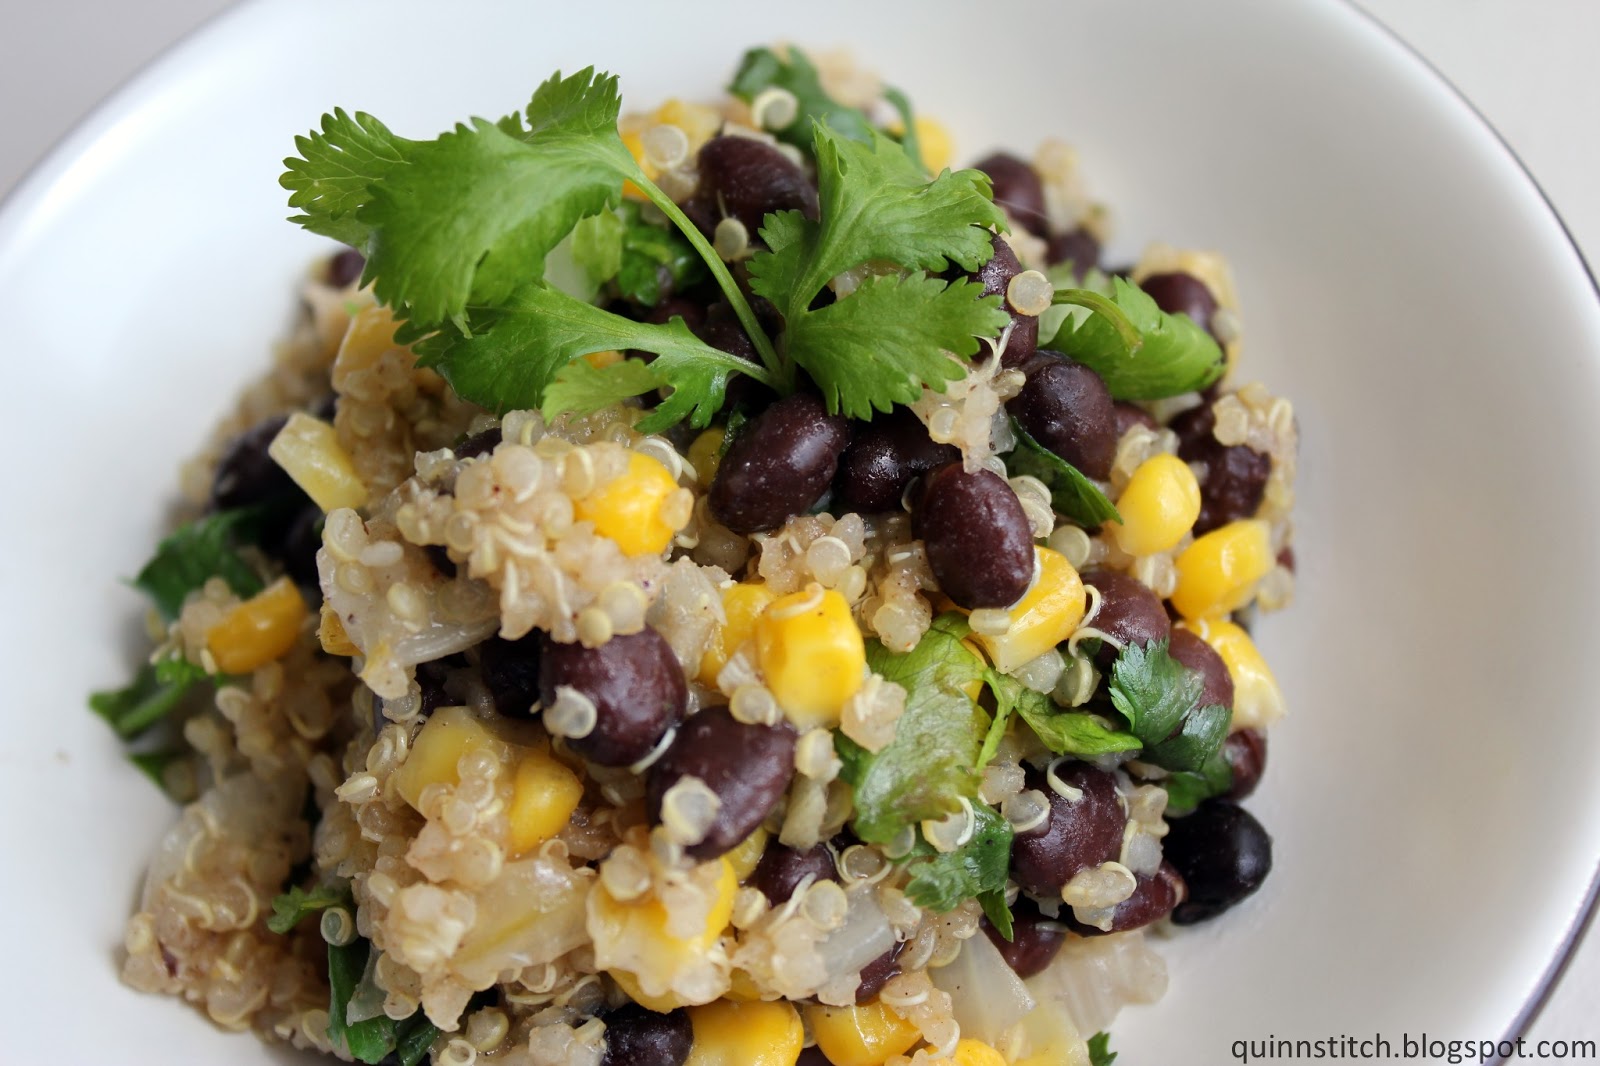
So a few weeks ago, I bought this gigantic bag of organic quinoa at Costco.  Considering that I've never really cooked with quinoa before, I was hesitant to get started, so I put if off and off and off!  NOT TODAY.  I finally did something with it!  Since I've been attempting to eat vegan before six over the past few weeks, I thought this would be a perfect way to keep on track.  I googled "quinoa recipes" and I came across this one that had a great mixture of all my favorite flavors.  Black Beans? yes.  Corn? yes.  CUMIN?  Alright, sign me up!


Vegan Quinoa & Black Beans

courtesy of Allrecipes.com by quinnstitch.blogspot.com
yield: about 4 cups
[printable recipe]

Ingredients
1 tbsp olive oil
2 cloves garlic, minced
1/2 onion, chopped
1/4 cup + 2 tbsp quinoa
3/4 cup vegetable broth (or water, if need be)
1/2 tsp cumin
1/8 tsp cayenne pepper
salt & pepper to taste
1/3 cup frozen corn (or fresh from the cob)
1 can black beans, rinsed
1/4 cup cilantro, chopped
the juice of 1/2 lime

Instructions
1. Heat oil in pan over medium heat.  Add onions and cook until translucent, about 5 minutes.  Add garlic after a couple of minutes.  
2. Rinse quinoa.  Add quinoa to pan and cook with onions for about 1-2 minutes.  
3. Add broth to pan.  Add spices.  Bring to boil.  Turn to low, cover & simmer for about 20 minutes.
4. Add corn to pan, mix in and cook for a few more minutes.
5. Add rinsed black beans.  Stir and cook for a couple more minutes until heated.
6. Remove from heat and stir in chopped cilantro. Sprinkle with lime juice.

Thanks so much for visiting. I really appreciate everyone who reads and comments. If you like what you've seen here, please follow me on Facebook and Pinterest to receive updates.

facebook-like-me-button1         Follow Me on Pinterest


Monday, June 17, 2013

State of the Garden 2013: "Things like to LIIIIIIIVE!"


So around the homestead (of my apartment) this past week I've seen an explosion of LIFE.  First, let me talk about the bugs.  THE BUGS.  BUUUUUUUGS!

I remember when I was a kid, I would have to go through a desensitizing process every spring to becoming comfortable with the presence of bugs.  During the long winter, there may be the occasional centipede or something you find in your bathtub that's been attempting to not freeze, but not that many.  As a kid who loved to play outdoors, I was able to get used to this pretty quick.  As an adult, this desensitization process is not necessarily needed, as I expect the arrival of the bugs, and also, I'm an adult.  But just yesterday, I exclaimed out loud (and this is a literal quote from my mouth), "I AM SO SICK OF BUGS CRAWLING ON ME!"

So, my building has an ant problem.  Living on the top floor of this building has greatly decreased the incidence of centipedes (which are my mortal enemy), which is nice.  However, the ants are rising in this hierarchy of hate of disgusting crawly creatures.  The ants literally live in the brick and in the outdoor walls of the buildings.  I know this because 1) I've seen it up close in one of the other buildings, and 2) how else would I get ants on the top floor?  In the past couple years, we've been able to control them by setting ant traps near the back where they like to appear, but this year...  (hold on I'm trying to not dry heave) they've been popping up all over.  Almost every day over the past week an ant has crawled over my body at some point.  I'm like sitting on the couch and an ant goes crawling across my chest like, "hey, don't mind me large person, I'm just trying to get over there, and I thought this was the best way to go, right across your boobs".    And just yesterday, I also had interaction (all out battles) with flies, a spider, little green bugs, and weird tiny gray things making a home in my indoor thyme plant.  (OK DRY HEAVING NOW)

Moral of the story:  I need to ramp up my defense against the attack of the ants.  I need to get desensitized again!  Good thing though, I am not squeamish to crush these tiny ants between my two fingers.  Always with an exclamation of, "SEE YA, SUCKER!"

OK, now on to the things I WANT to be growing and thriving in my apartment.  This week the plants in my garden have decided that they really do enjoy living and started growing at an exponential rate.  Like, I didn't go back there for a couple days, and then I saw my tomatoes and went OH MY GLOB, what happened?!  They're like mutant tomatoes!!  The stalks of the tomatoes have grown so fast, I've had to make sure the little stakes I put up for them were loose enough to accommodate the increased girth.  (mmmmeehh heh heh...  I know the teenage boy in you wants to make an inappropriate joke here, but c'mon!)  They've been falling over by the weight of their own stalks & leaves (not even any tomatoes yet!)

This growth has been helped by a number of thunderstorms rolling through here in the past couple weeks.  The plants are loving the extra water and nitrogen-rich lighting (though this may be a myth?)  Also, we've FINALLY been experiencing consistently warm temperatures, which also is helping.

Now a comment on the battle between the tomato plants.  The ones in pots are noticeably smaller and not as thriving as the tomato plants in the planter.  BUT the tomatoes in pots have succeeded in producing the first tomato bud!  The clear winner remains to be seen.

Strawberries were removed from the planter because they were being choked out by the GIGANTIC tomatoes.  Haven't seen many strawberries yet, but it looks healthy.

The chives are LOVING LIFE.  

The tomatoes in pots.  Kinda scraggly, no?  But still growing.

The tomatoes in the pots are boasting the first sign of a tomato, and were sprouting flowers before the tomatoes in the planter.


Beans growing like crazy!


Lil' bean flowers mean lil' beans to come!


Here's the gargantuan planter tomatoes themselves.  I put up the tomato cages and had to improvise with a little twine.


Planter Tomatoes finally boasting some flowers.

Make sure to come back next Monday for the next "State of the Garden" installation. Thanks so much for visiting. I really appreciate everyone who reads and comments. If you like what you've seen here, please follow me on Facebook and Pinterest to receive updates.

facebook-like-me-button1         Follow Me on Pinterest


Friday, June 14, 2013

Oliver Friday: Does this look comfortable to you?


Thanks so much for visiting Quinnstitch. I really appreciate everyone who reads and comments. If you like what you've seen here, please follow me on Facebook and Pinterest to receive updates.

facebook-like-me-button1         Follow Me on Pinterest

Thursday, June 13, 2013

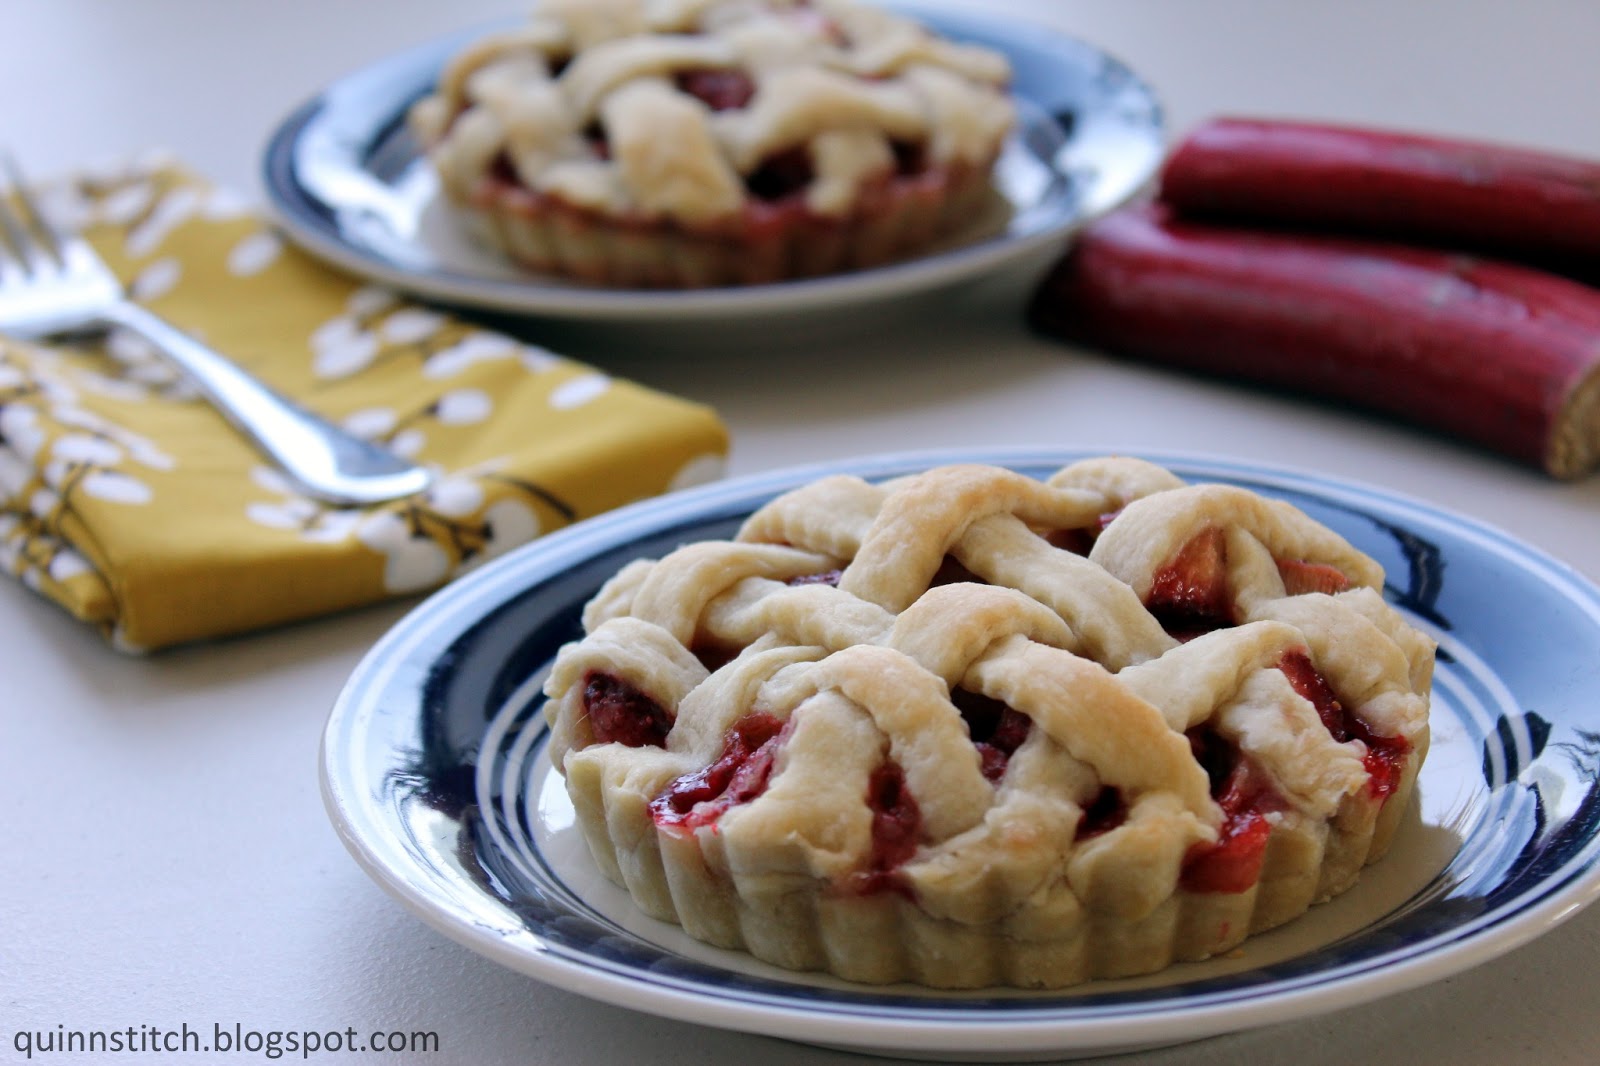
How to make: Strawberry Rhubarb Mini Pies


So rhubarb is one of my favorite "fruit" pies to eat in the spring. Is it a fruit? It's more like a stalk. Wikipedia says, "In culinary use, fresh raw petioles (leaf stalks) are crisp (similar to celery) with a strong, tart taste."  I GUESS it's not a fruit.  Growing up, we usually had rhubarb pie at some point during this time of the year, due to the GIGANTIC rhubarb plant growing in my grandpa's backyard.  It just feels so weird to me to have to buy it in the store, since we never had to when I was living in Michigan. Unfortunately now since I've moved to Chicago, and I don't have a yard to plant rhubarb in, I have to make do!

Rhubarb only shows up in the grocery store at this time of the year as well, so I spontaneously bought some last week.  I purchased the rhubarb not because I wanted pie necessarily, because I feel I need to cook with it every year.  Oh, who am I kidding, I always want pie!

Now there's a couple of special tools I used to make these mini-pies.  First, I used a mini-tart pan.  "But Laurie, you called these PIES, not tarts!".  YES YES YES I know, but in my mind a tart doesn't have a top crust and these do.  Semantics!  These 4 x 1 inch tart pans will work beautifully for these pies anyway.  If you don't have this, you can make a regular sized pie, or even use muffin tins to get the mini-pie effect.

Second, I used a pastry cutter.  You absolutely do not need this to make these pies.  BUT I got it for my birthday and this was the first time getting to use it!  In the past, I've used a pizza cutter, or just a knife to make my upper-crust lattice.


by quinnstitch.blogspot.com
yield: 2 mini-pies (4")
[printable recipe]

Ingredients

For Crust: (or you can use pre-made dough)
1 1/4 cups flour
1/4 tsp salt
1/3 cup cold butter (or half butter and half shortening)
4-5 tbsp ice cold water

For Filling:
2 cups diced rhubarb & strawberries
1/3 cup sugar
2 tbsp all purpose flour
1/4 tsp cinnamon (optional)

Instructions
1. Preheat oven to 375F
2. For filling:  Mix fruit, sugar, flour & cinnamon together in medium bowl.
3. For crust:  Mix flour & salt together.  Cut in butter with pastry cutter until pea sized.  Sprinkle 1 tbsp of water over the flour mixture & gently toss with fork.  Push moistened dough to the side of the bowl.  Repeat with 1 tbsp of water at a time until all the flour mixture is moistened.  Form dough into a ball.
4.  Divide dough in half  Divide that one half into half again. (at this point, you should have two quarters and 1 half of dough)  Roll out both quarter pieces of dough and line the bottom of tart pans.  Trim the edges of dough so there is no overhang.
5.  Pour the filling into the dough-lined tart pans (as much as you can).
6.  Roll out the remaining half of the dough and cut lattice pieces with pastry cutter.  Weave the lattice on the top of the mini-pies, and tuck the ends into the bottom crust.
7.  Place pies on foil lined baking sheet (they will boil over a bit).  Bake for 25 minutes or until dough is cooked and filling is bubbly.


Here I've lined my tart pans with the rolled out quarter piece of dough.
Trim the dough up.

Put as much filling inside as you can get!

Roll out the remaining half of the dough and cut your lattice pieces.

Start to weave the lattice like so.

Finish up the weave...

And tuck in the ends!


Thanks so much for visiting. I really appreciate everyone who reads and comments. If you like what you've seen here, please follow me on Facebook and Pinterest to receive updates.

facebook-like-me-button1         Follow Me on Pinterest