Showing posts with label Food. Show all posts

Sunday, February 3, 2013

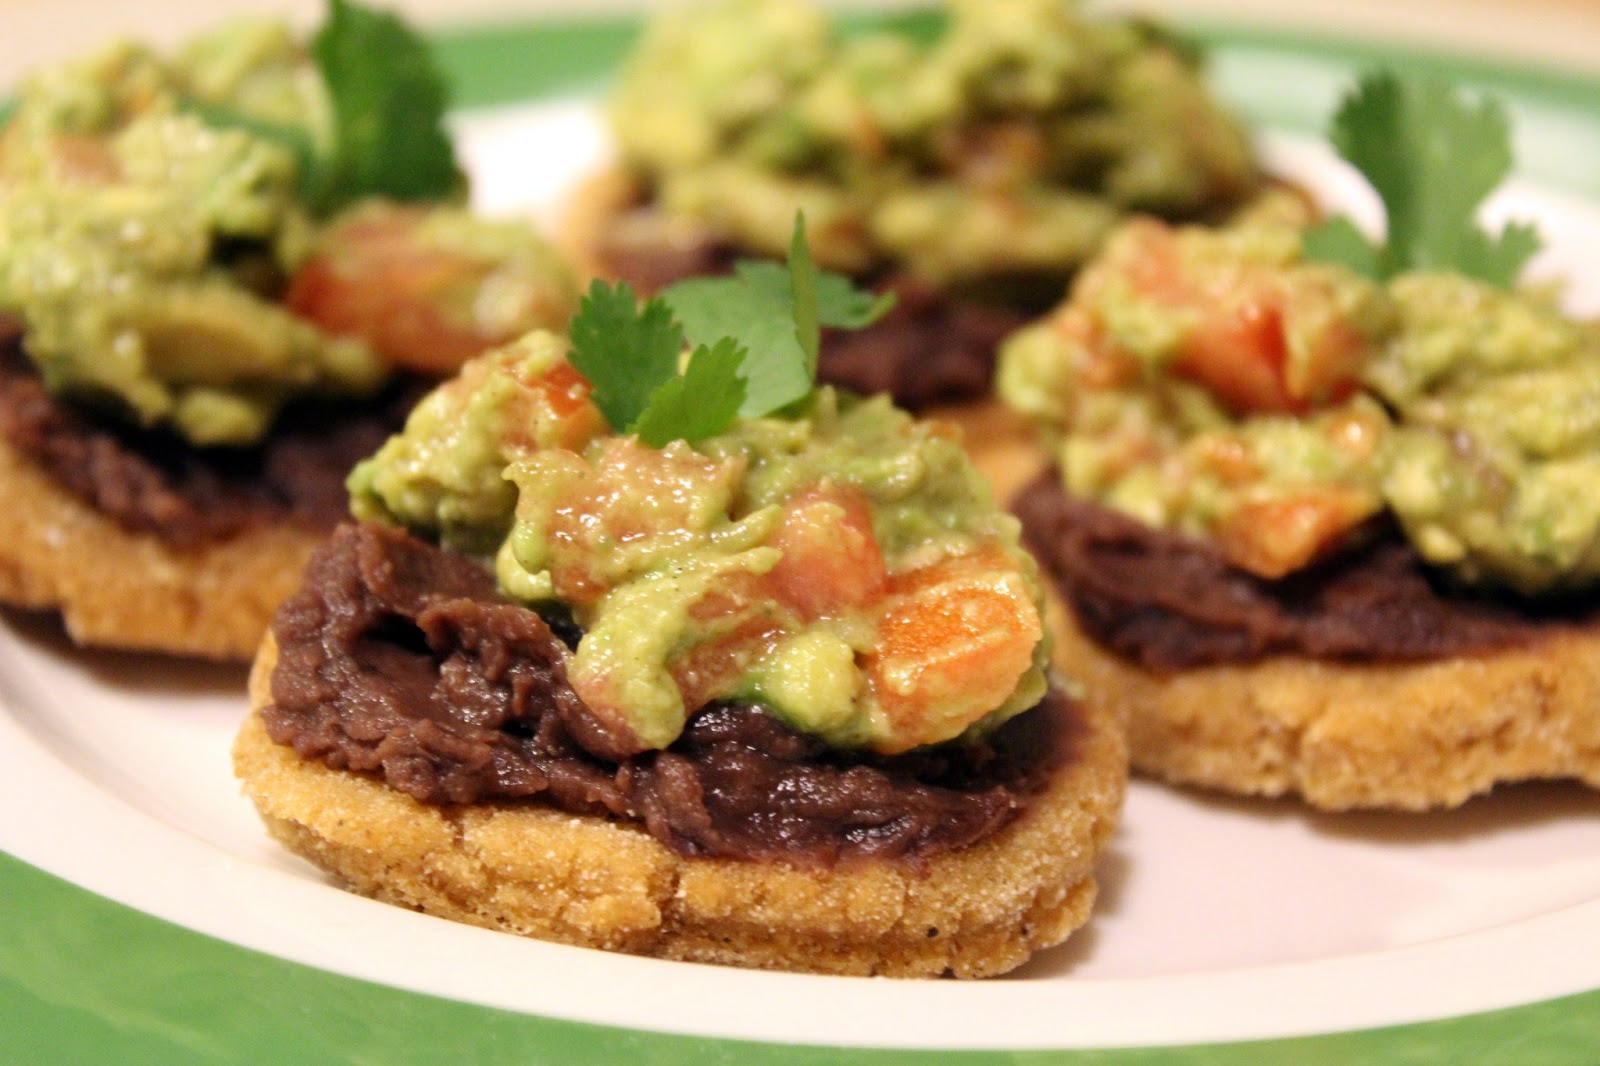
How to make: Avocado Corn Cakes


Last night I went to a "pot luck" with my classmates, and we were supposed to bring a dish to share.  I had NO idea what I was going to bring about 2 hours before, but luckily I was able to come up with this appetizer on the fly and it was a hit!  I know that I liked it, because it combined many of my favorite flavors.  (Plus I got to use some of my cumin) I also couldn't come up with a fancy name for these, so I settled on "Avocado Corn Cakes".  Any suggestions are welcome!


Avocado Corn Cakes
Yield: 14  Time: 30-45 minutes

For the corn cakes:
1 cup masa corn flour
1 tsp cumin
1 tsp garlic powder
1 tsp onion powder
1/2 tsp paprika
1/4 tsp salt
1 cup water
1-1 1/2 cups corn oil


For the avocado filling:
1 avocado, diced and mashed with a fork
1 tomato, diced
1 tsp cumin
1/4 tsp salt


1 can refried black beans (or pinto beans)
cilantro for garnish

Begin by assembling the corn cake mixture.  Mix the masa, cumin, garlic powder, onion powder, paprika and salt in a bowl.


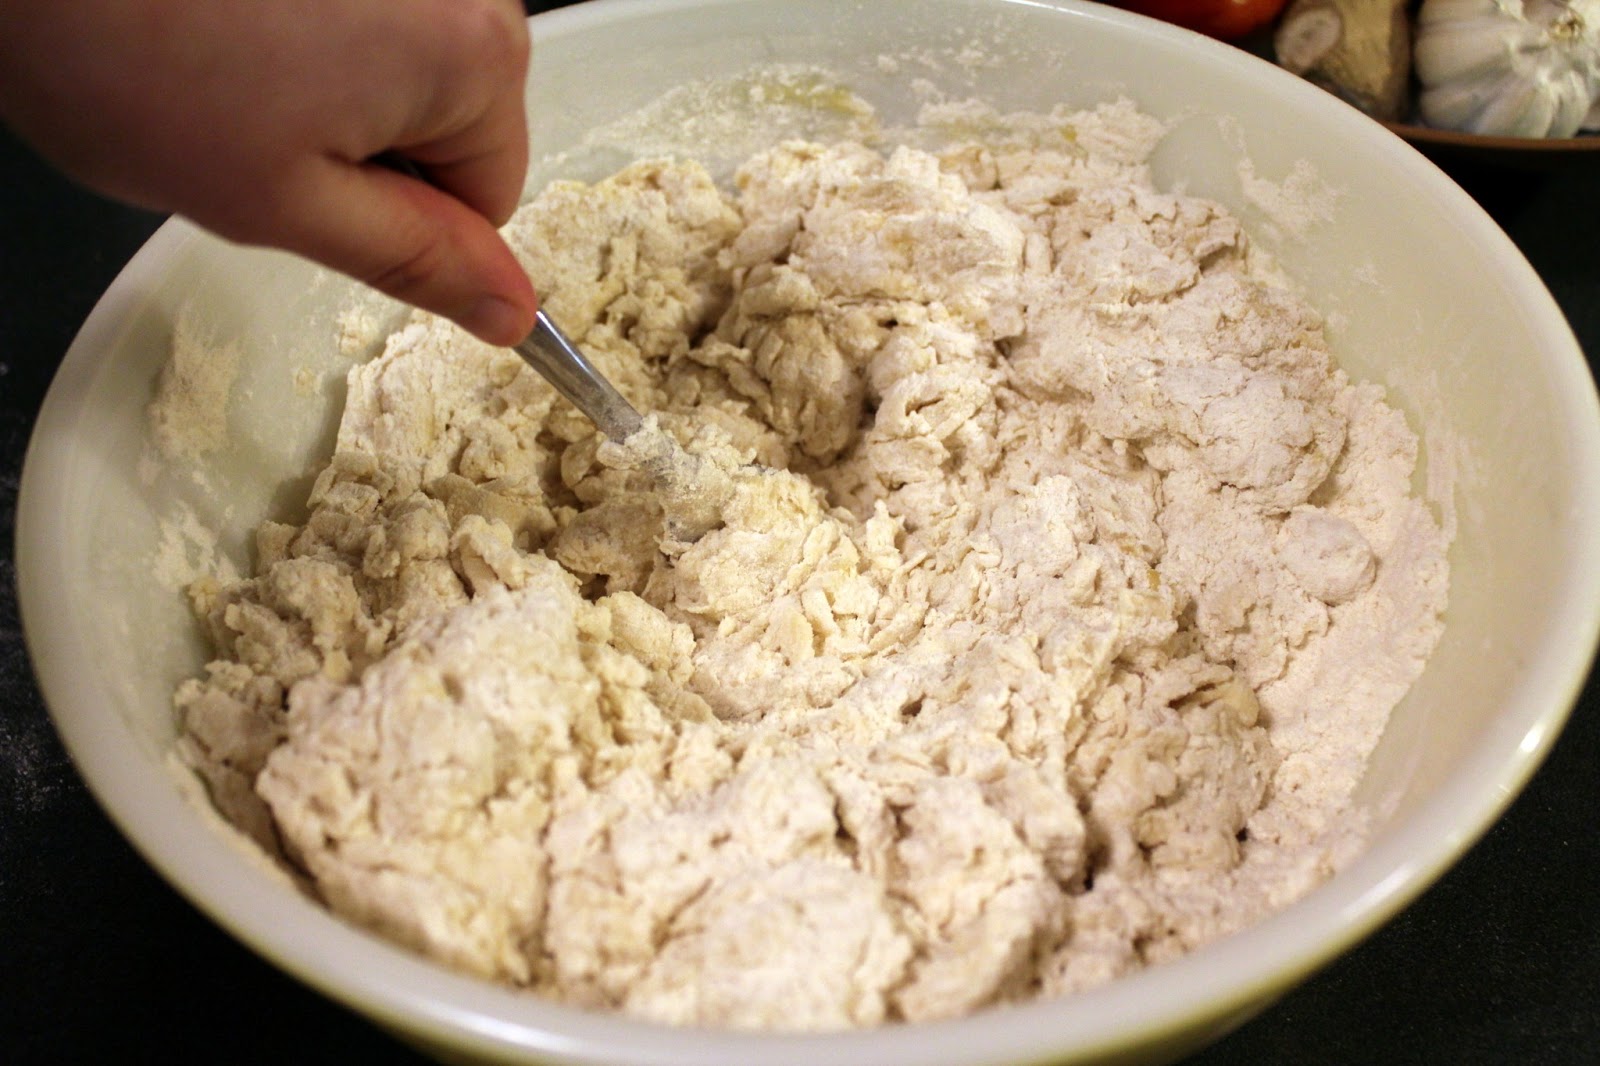
Add the water and begin to bring together with a fork.


When combined, start by making small balls of the masa mixture


Have some extra masa on a plate so the dough won't stick to the plate or your hands.


Flatten the masa down into a cake or patty with your hands.


In the meantime, heat the corn oil in a pan to 350-375 degrees F.


I used a thermometer to help me with this, because it can get kind of tricky keeping the temperature correct.


Add the corn cakes and cook for ~2-4 minutes per side.  When finished, set on a paper towel to dry.


Begin assembling the avocado topping by mashing up the avocado with a fork.


Add the spices and the tomato, and you're ready to assemble!


Spread the beans on top of the corn cakes like this:


Now dollop some of the avocado mix on top, and garnish with a sprig of cilantro.


Voila!  You're done!  Soooo good!


If you liked this, let me know in the comments!  And don't forget to follow me on Facebook and Twitter!

Friday, February 1, 2013

How to make: Creamy Cauliflower Soup


Over the holidays I picked up an exciting new cookbook that was just MADE for winter.  It's called "100 Best Fresh Soups".  Considering it was only about $6, I think I got my money's worth.  I attempted this soup in early January, and I was pleasantly surprised on how good it was!  I just happened to have some cauliflower to use, and this was the perfect way to use it up.  Also, Andy really liked it too, even though his initial reaction was something like this:

Andy:  "Ohh, you made soup?  Smells good, what kind?"
Laurie:  "Cauliflower"
Andy:  "ewww"
Laurie: "Just try it first!"

Gather your ingredients:

Creamy Cauliflower Soup

1 tbsp Olive Oil
2 tbsp Butter
1/2 cup diced onions
1 cup diced leeks
1 large head of cauliflower
4 cups vegetable or chicken stock
salt & pepper
Parmesean cheese and olive oil, for garnish

Start by dicing up all your veggies:

Cut the cauliflower into florets and cut the stalk into small pieces.

Chopped leeks and onion

Heat the olive oil and butter in a pan

Cook the leeks and onion for about 10 minutes, stirring frequently.

Here they are 10 minutes later!


Add the cauliflower.  Hmm... my pan's a little small.  Time to switch to the wok.

Saute the cauliflower with the other veggies for 2-3 minutes.

Add the stock and bring to a boil, cover, and simmer over medium heat for 20 minutes.


Here's the cooked veggies after 20 minutes!

Transfer to a food processor or blender, process until smooth, and return to rinsed-out saucepan.  If you have the smallest food processor ever, like me, just blend in batches.

Heat the soup through, and season to taste with salt and pepper.
 Feel free to add more stock to the consistency you want.

Finished!  Top with Parmesan cheese and drizzled olive oil.


If you liked this, let me know in the comments!  And don't forget to follow me on Facebook and Twitter!

Sunday, January 27, 2013

How to make: Homemade Pizza


This is one of my favorite dinners!  Let me tell you, I love pizza sooo much.  I have been known to make statements such as "I could eat pizza every night and never get tired of it!"  Ok, that may be an overstatement, but that just shows how much I enjoy eating pizza!

Now, living in Chicago is rough for pizza eaters on a budget.  Back when I lived in Michigan, I was used to affordable pizza wherever you went.  Here, pizza is SOO much more expensive!  Because of this, I've been in the habit of periodically making my own pizzas at home.  It's much cheaper, you can put as many toppings on it as you want (none of this $2.50 per additional topping idiocy), and it's delicious!


I've adapted this recipe from over on the Food Network, and it works out great for me.  In this recipe I use all white bread flour, but you can use 1/2 white and 1/2 wheat to make wheat dough as well.  I'll post that sometime soon.

Gather your ingredients:

Pizza Dough
(Makes 6-8 medium thin pizzas or 3-4 large pizzas)

7 cups bread flour
1 Tablespoon sea salt
2 Tablespoons dry active yeast (or two packets)
2 Tablespoons olive oil
1 1/2 teaspoons sugar
1 1/2 teaspoons honey
2 2/3 cup lukewarm water (~115 degrees)


Begin by sifting together your flour and salt in a large mixing bowl:


In a separate, medium sized bowl, add your sugar, olive oil, yeast, and warm water:


I don't trust myself to judge what "lukewarm" is, so I like to make sure with a thermometer.  About 115 degrees should do it.     


Once the wet mixture is together, give a light whisk, then let sit for 10 minutes to let the yeast "bloom"


Here's the yeast after 10 minutes, active and ready to go!


Make a well in your flour, and pour the wet mixture in all at once.


Using a fork, swirl and mix in the flour until all combined.  This process may take a while.


Keep mixing!


At a certain point, get your hands in there to start bringing the dough together.


When it's mostly combined, pour contents onto a floured working surface and start kneading to combine the rest of the flour.


Keep working, kneading...


Knead until you're left with a smooth, springy dough, about 5-7 minutes.


Now we need to let the dough rise.  Grease the inside of a bowl with olive oil:


And set your dough inside.  Cover with a damp towel and put in a warm place to rise.


My oven is relatively warm when it's off because of the pilot light.  I'm leaving my dough here to rise for one hour.


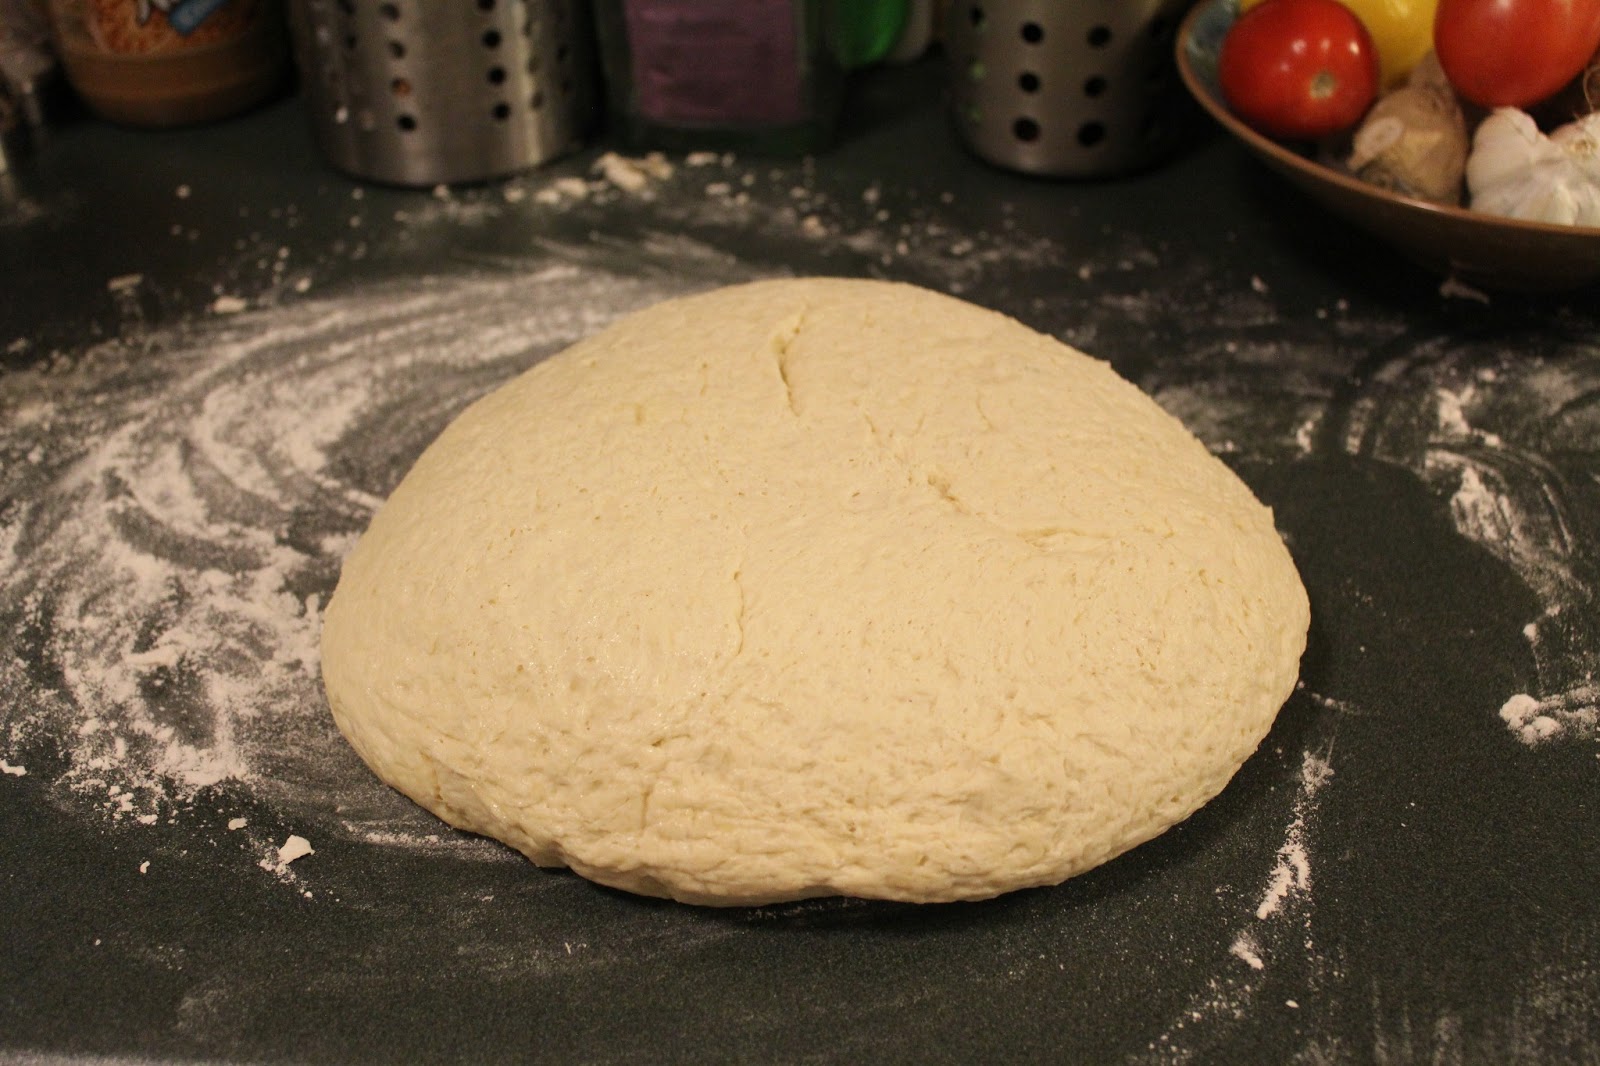
 Here's the dough after it has risen.  It's nearly doubled in size!


Here's the fun part:  PUNCH IT DOWN!  


Give the dough another quick knead to push the air out. You're ready to make pizza!  Cut off the portion that you want to use now.  I used about a 1/3 of this dough for my pizza tonight.


Roll out the dough and place in a pizza pan for baking.


Brush with olive oil:


Spread some sauce:


Add some mozzarella:


And any other toppings you want!  I have pepperoni and green pepper today.  Another fun addition (which I forgot to do, and wanted to try) would be to butter the crust and sprinkle with Parmesan cheese.  


Bake in a 450 degree oven for 10-15 minutes, or until the edges start to brown slightly and the dough is cooked through.  And voila! You've got pizza!  


The rest of the dough can be cooked immediately or frozen for future pizza :)  Enjoy!

If you liked this, let me know in the comments!  And don't forget to follow me on Facebook and Twitter!