
It's crafting Wednesday again! Time to see how much progress I've made on the Bob Dylan T-Shirt Quilt. If you haven't seen the first installment, Set Up & Prep, you might want to see how we got to this point. This week I've been focusing on cutting out the pieces of the quilt, and getting them ready to put together. Let's take a gander back at the original plan:

You can see as before, I've mapped out how many inches I'd like the finished product to be. However, we have to cut each piece a little bigger so when we sew it together, it will still be only 40'" x 50". I'm allowing for a 1/2 of an inch seam allowance, which means with two edges, each width or length will be cut 1" wider than what I have drawn above. For example, I have each t-shirt rectangle as 12" x 14". However, I will cut the t-shirts into rectangles of 13" x 15" with the seam allowance.
In the upper right hand corner, you'll see that I have mapped out the dimensions for all the pieces of gray fabric that will be going between the t-shirts. I've noted where seams will be in the gray fabric with the red lines on the plan above. Each dimension has 1" added to give seam allowance for 1/2" on each edge.
I used my quilter's stencil plastic to make a 13" x 15" guide, so I can try to cut all of the t-shirts the exact same size. It is important with quilting to be as precise with your measuring and cutting as you can. With t-shirt fabric, it will stretch, so be careful to not stretch it too much when you're cutting, just lay it flat.
I've started by ironing the t-shirts:

Next, I cut the backs off of the t-shirts, as I won't be needing those.


Now it's time to lay the guide down and start cutting. I'm making sure that the picture is as centered as possible within the guide, and taking care not to stretch the fabric too much.


There we go! Looking good.

Now dispose of the rest of the t-shirt.

Here's all the t-shirts cut.

Now the next step is a little tricky. Because we are working with stretchy and sometimes thin t-shirt fabric, we need something to stabilize the shape. To do this we use something called fusible interfacing. I'm not going to go into the directions for you, but I'll send you to the site I googled on how to do it here. I've tested a strip of the interfacing to see if it would work right by ironing it onto a scrap piece of fabric from the discarded t-shirts:

Now, iron on the interfacing to each rectangle of t-shirt, taking care to not iron the interfacing onto your ironing board cover (like I did on the first one, whoops!), and not to stretch the fabric. Try to keep it as close as possible to the original shape it was cut.

Now trim the edges:

And here's what it will look like! Now the fabric won't stretch, which will make the final product more professional looking and less messy.

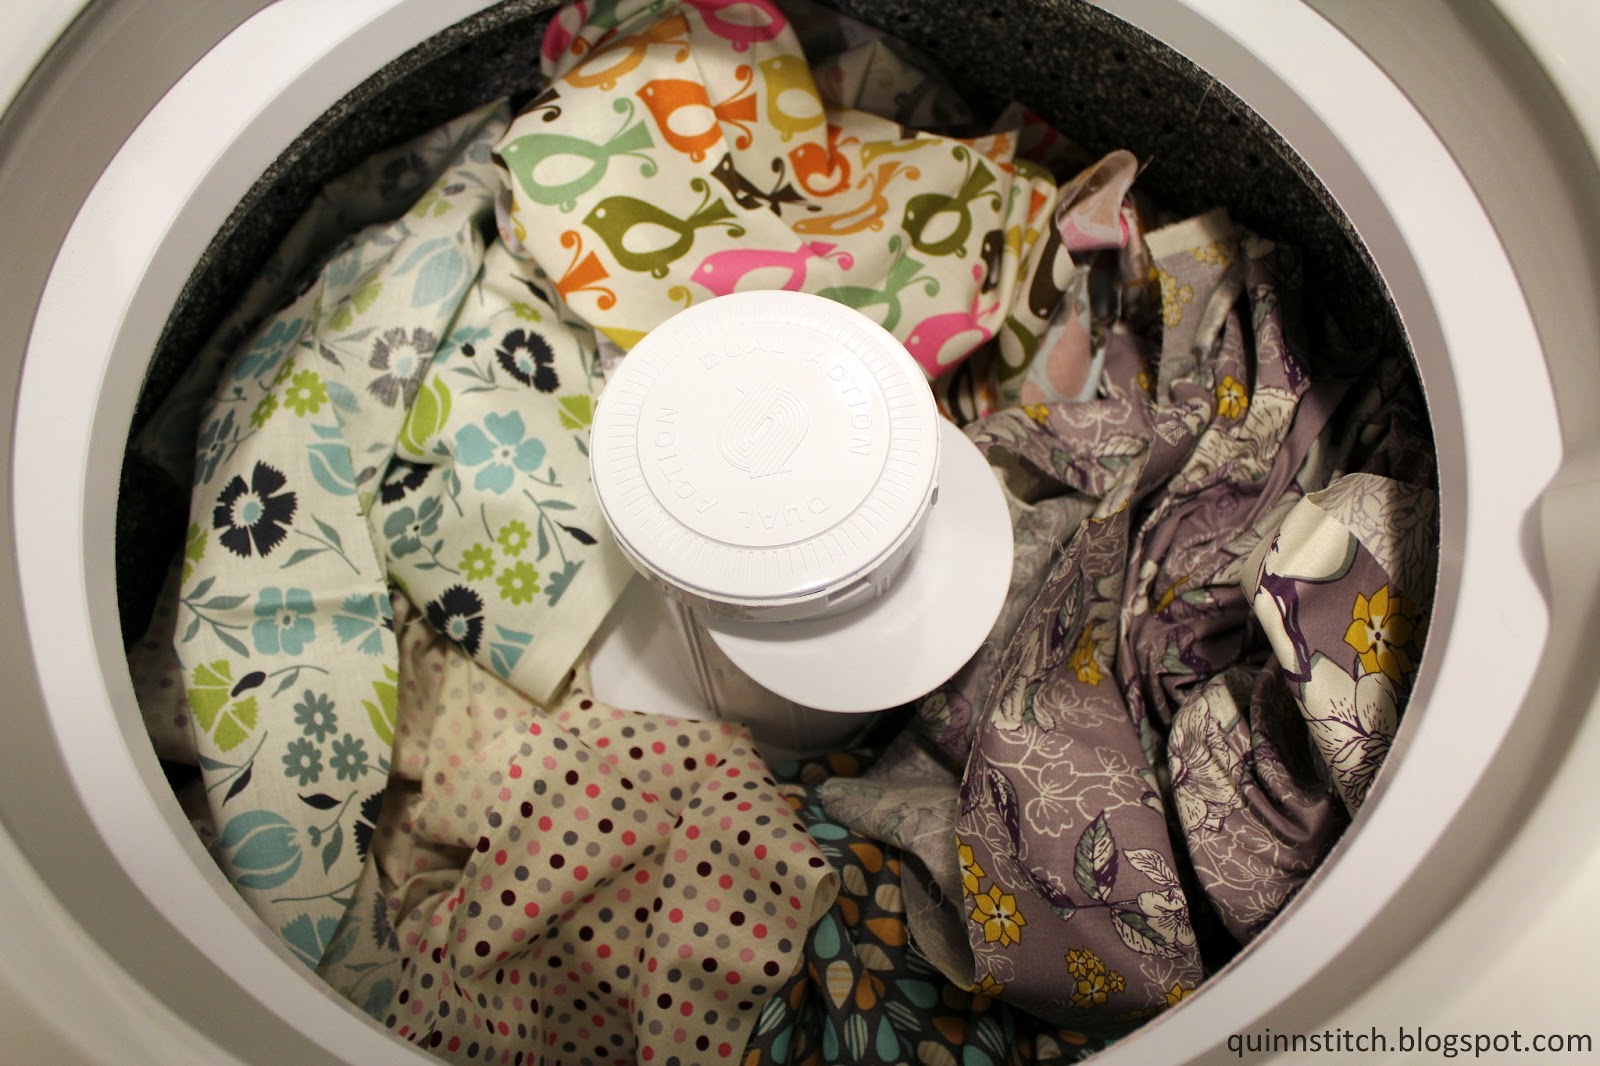
Now at this point, I was going to cut out my extra pieces from the gray fabric, but then I realized that I needed to pre-shrink it. Why? Well, 100% cotton fabrics will shrink somewhere from 1/4 to 1/2 of an inch the first time it is washed. So if you construct a quilt that will be washed frequently, and the fabric has not been pre-shrunk, it will look and fit differently after the quilt is washed. Luckily I had some other fabric on hand to do this too, so I put them all in the washer and dryer under delicates and low heat. After this, I will iron out my gray fabric and cut it to the dimensions I have noted on my blueprint/plan.
Coming up this next week, I will start assembling the quilt together!
Make sure to check back weekly on Wednesdays, I'll be posting updates about this project! And as always, Thanks so much for visiting. I really appreciate everyone who reads and comments. If you like what you've seen here, please follow me on Facebook and Pinterest to receive updates.
Enjoying your tutorial. Very sequential, easy to follow and the pictures are a good visual. Love your birdie print!
ReplyDeleteInterfacing is really cool! I never knew there was such a thing. When this project is done, it'll make a GREAT tutorial on how to make a t-shirt quilt. You may even want to consider publishing an e-book on the subject?
ReplyDeleteThanks! That may be an option at the end of this project. :-)
DeleteThanks! That may be an option at the end of this project. :-)
Delete