Friday, November 30, 2012

How to make: Red & Green Chicken and Avocado Enchiladas

What is up blogosphere?!  You'll be happy to know that QuinnStitch is off to a great start.  I've had a bit of traffic coming in, and I really hope people are liking what they're seeing!  Not many commenters so far, but let's keep trucking along!

One thing that you should know about this household and the food we eat is:   We loooove spice.  If there's a way to make a dish spicy, we normally go for it!  Spaghetti sauce, pulled pork, pizza, mac & cheese, etc.  I feel like it gives food this extra dimension that makes it more delicious.

"But Laurie, I haaaate spicy food, it hurts my sensitive mouth area!"

Guess what, naysayers?  I used to be the biggest spice wussy on the planet.  How did I get over it?  Well the story is completely anecdotal, not based on science, may not work for you, but here goes.

Once upon a time, I worked at a restaurant called PF Changs.  ("omgz Laurie, I lrrrrrrve that restaurant, tell me more about Chicken Lettuce Wraps!" ...no)  At PF Changs they have a dish called Dan Dan noodles, which are insanely delicious.  One day, a customer ordered the Dan Dan noodles with no spice.  Accidentally, the cooks made it EXTRA SPICY.  Whoopsies!  Now, because these noodles could not be used, the staff went ahead and ate it.  On that day, I was working very hard and I was insanely hungry in the middle of my shift.  When I saw the noodles, I went for it.  Instantly, when I ate those noodles, I felt the fire of 1000 suns raging through my mouth and throat.  I told myself, "I am sooo hungry, don't think about the pain, just don't think about it!!".  I successfully ate a portion of the noodles, and to this day, my spice tolerance is wayyy higher.  The power of psychology!

Now, this COULD be due to the inferno-noodles, or because I eat spice more regularly than I used to, but we won't dwell on that.  The best thing about making spicy food yourself, is that you have all the control over how much spice you add.  For example, adding the seeds of a jalapeno will make dishes spicier. If you like a  lower level of spice, don't add the seeds.  Also, adding spicy peppers or cayenne to something like spaghetti sauce can give a delightful hint of spice without making it unbearable.  Almost like a little kiss of spice.  Awww.

Ok, next, this brings me to the next topic about the food we eat:  We LOOOOOOOOVE Mexican food!  The spices, the flavors, the variety.  I really can't get enough.  And, even better, the degree of difficulty is extremely variable.  One day you can go for regular old tacos, and the next spend two hours attempting to cook an authentic el pastor taco dinner (we have done this!).  Or even better, spend two DAYS making tamales (yep, done this multiple times!)  I love mexican food so much, that I literally buy Cumin, Garlic Powder, Onion Powder, and Cayenne Pepper in bulk.  And I use it ALL.

So when I saw Closet Cooking's recipe for Chicken and Avacado Enchiladas on pinterest, I was all, "I like Chicken, I like avocados, I like enchiladas!" As always, I changed it a little bit to accommodate the ingredients I had at home.  Also, this is another recipe that can use the leftover chicken from the Roasted Chicken we made earlier on QuinnStitch!  WIN WIN!

Gather your ingredients:

Red & Green Chicken and Avocado Enchiladas

For the salsa:
1 tomato
1 jalapeno
1/3 to 1/2 of an onion
1 handful cilantro
salt & pepper to taste
the juice of 1 small lime


For the avocado sauce
2 cups cooked shredded chicken

1/2 cup chicken broth
1/2 cup salsa (which you just made)
1/4 cup sour cream
1 avocado
1 jalapeno, coarsely chopped
1 clove garlic
1 teaspoon cumin, toasted and ground
salt & pepper to taste
1 handful cilantro
the juice of 1 small lime

1 green onion, sliced
2 cups cheese of your choice, cheddar, jack, shredded
4 small tortillas or 2 large tortillas
1 can refried beans 


Begin by chopping the onion, tomato, jalapeno (remove the seeds for less heat) and cilantro, and combining with the salt and pepper and lime juice in a food processor.  Pulse a few times until you reach the desired consistency of your salsa!


The finished product.  YESS this is looking good!

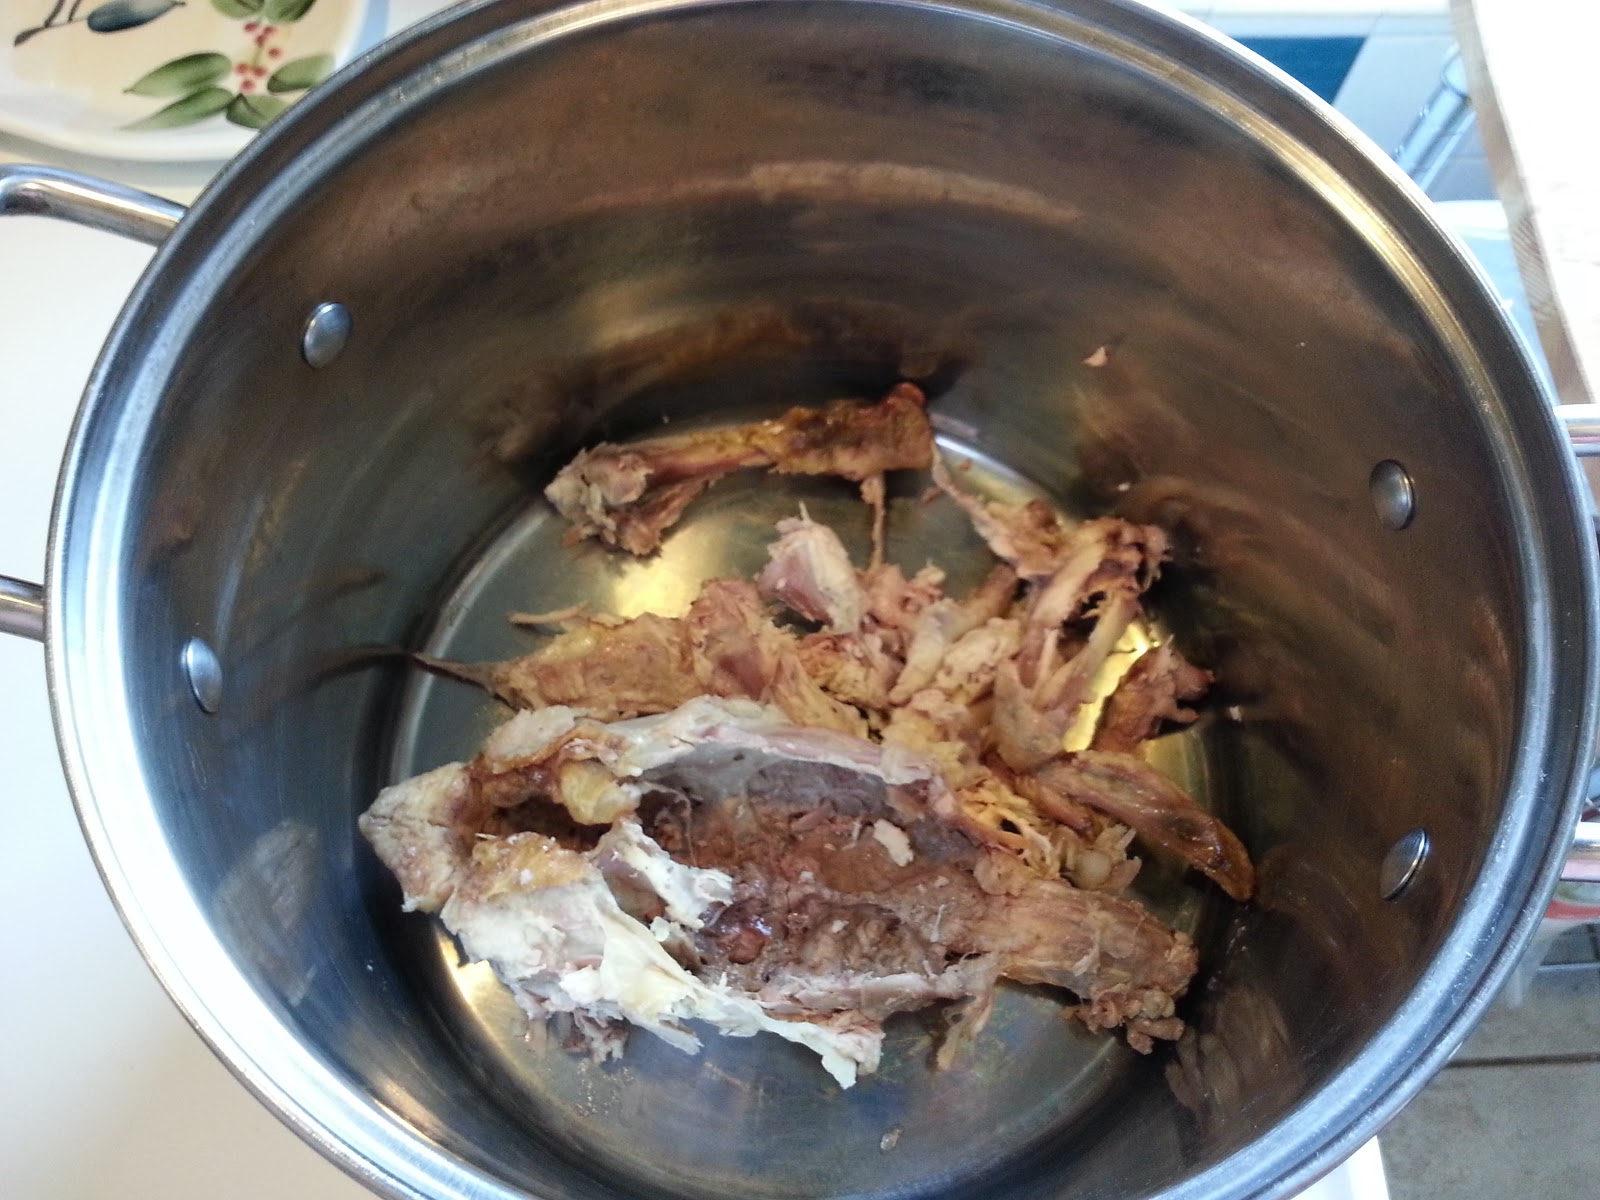
Ok, at this point you either can use the leftover meat from your Roasted Chicken, or you can cook up a couple of chicken breasts.  I just simmered these in water for ~20 minutes until they were cooked through.

Then, shred the chicken with a couple forks:


Done!


Now for the avocado sauce: Combine the avocado, salsa, sour cream, spices, garlic, chicken stock, jalapeno, cilantro, and lime juice in your food processor again, and mix until creamy.


Now add about half of your avocado sauce to the shredded chicken and mix:


Now it's time to construct our enchiladas!  You may want to pre-heat your oven to 350 degrees at this point.  I found these gigantic tortillas at my local grocery store that are perfect for some gigantic enchiladas!


Begin constructing your enchiladas:  Layer beans, the chicken/avocado mixture...


Go ahead and add some of the salsa you just made:


Cheese...


Now fold up into a nice enchilada-pocket!


Top the enchiladas with the remainder of the avocado sauce, more salsa, and cheese.  Bake in your 350 degree oven until the cheese is melted and the the outsides are bubbling, roughly 15-20 minutes.


When the enchiladas come out of the oven, top with cilantro, and enjoy!!


If you liked this, don't forget to follow me on Facebook and Twitter!


Tuesday, November 20, 2012

How to make: Chicken Tortilla Chili


Today I am going to continue my series of making use of cooking an entire chicken.  Previously I detailed the actual chicken roasting process here, and followed that up with how to make your own chicken stock here.  So at this point, you should have extra chicken left over from your bird, as well as some stock.  With those two ingredients, we will be making a soup of my own concoction, Chicken Tortilla Chili.

I really came up with this soup because 1) I was hungry and needed to make dinner, 2) I had a random assortment of ingredients that wasn't quite chili and wasn't quite tortilla soup either So I came up with this hybrid of sorts, and it wasn't half bad!  In fact, it was DELICIOUS.

Gather your ingredients:

Chicken Tortilla Chili

Cooked chicken (pre-cook it or use leftover chicken)
Chicken Stock (one can or homemade, enough to have enough liquid)
   Optional: Add water if you're out of stock and add a chicken bullion tablet
2 16 oz cans chili (kidney) beans or pinto beans, drained
2 16 oz cans of diced tomatoes (or 1 32 oz can)
1 8oz can of tomato paste
half an onion, chopped
2-3 garlic cloves
handful to a bunch of chopped cilantro
frozen corn (or canned, if you have it)
any other veggies you'd like to throw in, green pepper, celery, hot peppers, etc.
~1 cup corn flour masa

Spices:  feel free to go crazy with the spices, whatever tastes good to you, measurements are just guidelines (I normally just start adding stuff willy nilly), add things to taste.
     1/2 to 1 tsp Salt 
     1/2 tsp Pepper, 
     2 tsp Cumin, 
     1 tsp Garlic power, 
     1 tsp Onion Powder, 
     1 tsp Coriander, 
     1/2 - 1 tsp Cayenne Pepper (however much heat you want!)

Directions:  Put all of this stuff in a pot, simmer it for awhile (~15-20 minutes), garnish with cilantro or cheese, eat.

And don't forget to notice the delightful flavor brought on by the masa.  Secret ingredient!!!


Don't forget to follow me on Facebook and Twitter!

QuinnStitch: The future!

So QuinnStitch is now up and running on Twitter and Facebook, so make sure you subscribe to get all updates!  It's really been a slow process getting things going, and it is definitely a lot harder than I thought!  Especially balancing all the other things I have to do and make time to dedicate to QuinnStitch.  I really enjoy doing this, but I've made a list of things to do to really make this adventure successful:

1) Get a nice camera
 
Right now, I am using my phone (gasp!) to take pictures of the things I do to post on here.  Don't be SO shocked, I have a nice phone with very high resolution photos which aren't THAT bad!  But, I have noticed over the years that many bloggers use high end cameras to document their wares.  In fact, all the blogs I've perused lately have these cameras.  (you can notice by the blurry backgrounds and the GORGEOUSNESS) I've wanted a nice camera for a long time, but I'm now wondering if this is a requirement to have a successful blog in the first place and to make it seem professional.  Thoughts?

2) Network

I'm attempting to reach out to other bloggers as much as I can, because I'm pretty sure this is how the word gets out about new blogs.  Plus, the online community benefits from the support offered by likewise individuals, but... BUT:    I'm almost having a internal crisis about this.  One:  I'm actually kind of shy with this kind of thing.  Two:  Should I really start this process now while QuinnStitch is new?  OR should I do this when I have more content and posts to show that this is a legitimate endeavor?

3)  Get my crap online!

I really do have a stock-pile of things I've made over the years, and an almost constant level of potential content just from the massive amounts of cooking I do for myself and my husband.  The problem is getting it on here!  Again, that balance comes in.  To tell the internet the truth (hello, internet!) I am working on my PhD right now and that really eats up a lot of time, especially right now because it's the middle of the school-year and I'm attempting to defend my master's thesis in a couple of months.  Typical Laurie, launching a whole new project when there's 8,000 other things going on!  Oh well, I'll try my best.  Try to keep up the motivation!

4) Include more social commentary?

I'm really deciding as well on how the tone of this blog should be.  Would people want to see some other things, like music I'm listening to, or commentary of current issues or pop culture?  Snippets of my thoughts on issues?  I'm thinking maybe in moderation because I need to keep a clear focus.  

5) Stop being a wuss.

I've not even posted this blog on my personal Facebook or Twitter accounts because I'm-a-skeaared paw!! "Ahh people will judge me, what if they think I'm stuuuuupid?!?!?!"  That's some middle school BS right there.  I've really got to get over it, since, hey, if I'm opening up to strangers on the internet, I should open up to my friends and family, right?!

6)  I think my list has gotten a bit off track...

Anyways, things are definitely up and running now, bit by bit, and I just hope that people stumble across this from time to time and like what they see.  Because I really like showing it to you.  :)  If you have any other suggestions on how to make this blog work, please let me know in the comments!!

Your dutiful blogger-person,

Laurie


(instagrammed it!)


Tuesday, November 13, 2012

How to make: Festive Thanksgiving Pumpkin Muffins

So I've had this gigantic can of pumpkin in my pantry for a while now...  I guess I thought I'd make pumpkin pies at some point, but since I usually travel to Michigan for holiday family functions, I haven't been able to make any!  I mean, I GUESS I could make a couple pies for just me and the husband, but then I'd have to eat the whole thing.  WAIT WHAT'S WRONG WITH THAT?!

Regardless, I haven't used it, so I decided to whip up some festive pumpkin muffins instead so I could eat ALL of those!!


Now gather your ingredients:
1 3/4 cup flour
2 tsp baking powder
1/4 tsp salt
1/3 cup sugar
1 1/2 tsp pumpkin pie spice
1 egg
1/4 cup oil
1 cup pumpkin puree
1/2 cup to 3/4 cup milk
1/4 tsp vanilla


Mix dry ingredients together, flour, sugar, baking powder, salt, & pumpkin pie spice:


In a separate bowl, mix wet ingredients together, egg, oil, pumpkin, milk:


Make a well in the dry ingredients and then pour the wet mixture in:


Mix until just combined:


 Spoon batter into greased muffin cups (makes 12):


Bake at 375° for ~15-17 minutes, or until an inserted knife comes away clean:


Now, here's the big dilemma:  EAT NOW or make frosting?!  Your choice!  If you feel up to the task, here's how to make cream cheese frosting which will make these muffins taste out of this world.

Gather your ingredients:

Cream Cheese Frosting (adapted from Simply Recipes)
1/4 cup butter (1/2 stick unsalted) at room temperature
4 oz cream cheese 
1 to 1 1/2 cup powdered sugar
1/2 tsp vanilla extract


  • With an electric mixer, mix the butter and cream cheese together, about 3 minutes on medium speed until very smooth. Scrape down the sides and bottom of the bowl to ensure even mixing.
  • Add the vanilla extract and mix. Slowly add the powdered sugar. Keep adding until you get to desired sweetness and thickness.
  • Either spread on with a blunt knife or spatula, or spoon into a piping bag to decorate your cake or cupcake.
LET'S DO THIS:


Ohhh yes!  So delicious!  Try this out yourself!

Don't forget to follow me on twitter!


Friday, November 9, 2012

How to make: Chicken Stock


Hey, what’s up guys?  Getting tired of this cold weather yet?  EEK, it’s only November!  Apparently it’s been snowing on the East Coast with some crazy Nor’Easter, which makes me pretty happy I’m in Chicago right now.  Except last winter was so mild and not snowy at all, I’m half expecting us to get like THREE snowmageddon’s this year.  Anyone else remember 2010?  I sure do!  Behold:


(Blizzard!)

Apparently it’s getting up to 70 degrees or something this weekend, but LET’S PRETEND it’s not OK?  Because that would totally make this post slightly irrelevant.  (NEVER!)

Anyhoo, so let’s get to the topic of the day, shall we? STOCK.  Stock is such an important ingredient in so many recipes, it’s almost imperative for home cooks to know how to make their own.  And you’ll soon find out, it’s SOOO easy!!  Now, there are many different kinds of stock: Veggie, Chicken, Beef, Pork, Fish, etc.  Basically, it’s either vegetarian or whatever meat you happen to be cooking with.  I’ve really only made chicken stock, though, just because.  OK?  Now let’s get to it.

So you saved that glorious chicken carcass from a couple days ago, haven’t you?  Me, I haven’t completely eaten the entire thing, so I went ahead and took all the rest of the meat off the bones so I could use it in ANOTHER recipe.  “OMG LAURIE”, you say to yourself, “We are going to make MORE food from this chicken?”  And I will say, “Yes, dear reader, we are, because this is the week of the chicken.  Time to get excited!”

Gather your ingredients:

Chicken Stock
1 Chicken carcass or chicken bones
1-2 Carrots
1-2 celery stalks with the leafy parts attached
1/2 onion
1-2 cloves of garlic, whole
Whole peppercorns
Fresh or dried Thyme
1-2 Bay Leaves
Salt

So here is all the extra meat I was able to pull off the chicken:

Doesn't look like a lot, but TRUST ME, it's a lot!  Now put all the bones and the giblets (if you kept them) in a large pot.  Want to see it?  Don't be skittish, it's just chicken bones!  Here it is:


Next, add some water.  I guess I'm gonna go ahead and say something like six cups?  Or I just pour water in until it's roughly half full.  However much water you put in is how much stock you get out!


Now gather your trifecta of vegetables, the carrots, celery and onions.  You ALWAYS want these when making soup.  

Give em' a rough chop, like this:


Now put them in the pot!


Gather your spices, salt, peppercorns, thyme, bay leaves...


 You know what to do!!


Add those garlic cloves:


And you're done!  Put a lid on the pot, bring to boiling, and then turn the heat down to low to simmer for at least a couple hours (more if you want).


Look at that steam!


After a couple of hours, put the entire pot in the refrigerator to cool down.  I like to do this to remove some of the fat that will coagulate when it gets cold.  That helps keep this stock as healthy as can be!  I left mine in the fridge overnight, but feel free to do this all in one day.  And you don't necessarily need to do this step, you can go ahead and strain your stock when it;s still warm if you'd like to use it immediately.  When your stock is ready to strain, get out your sieve, or strainer, or cheesecloth, whatever you have.  


Pour the entire contents of the stock pot through the sieve/cheesecloth to separate the liquid from the solids.  I didn't take a picture of this, because really, I already made you look at chicken bones once, do I have to do it again?!  NO!  Throw away the bones/veggies, you won't need those and behold your GLORIOUS stock!!!


I put my stock in freezer safe containers and store them in my freezer until I'm ready to use it.  You can store it in a container in the refrigerator for 2 or 3 days and in a freezer for 3 or 4 months. 

In our next post, we're going to use the stock AND the leftover chicken to make a seriously EASY meal for dinner.

And don't forget to follow me on Twitter for more updates!