Showing posts with label Christmas. Show all posts

Sunday, December 30, 2012

Christmas revelries and microbes who hate me

Hey there.  You may have been wondering, "Hey, what happened to Laurie?", or most likely you have not.  In any case, I've had a whirlwind holiday season, and got home a couple days ago.  Andy and I traveled back to our home state of Michigan to celebrate the holidays with our families.  We had a great time with everyone, and consumed WAY too much food.  Considering both Andy and I have been trying to eat healthier lately, this was a hard blow to our diets.  Here's a "sampler" of what we ate (hahaha, get it?  SAMPLER?!):

Chipotle - Ok, this isn't THAT bad is it?
Pizza - YUM
Mozzerella Sticks - Fried cheese is not a meal  ...or is it?!
Andy's mom's huge spread of Christmas Eve munchies - I ate more massive amounts of cheese and M&M's
Christmas Morning Donuts - Need I say more?
Christmas Dinner Homemade Italian Extravaganza of  ravioli & meatballs & Garlic bread - Which I had seconds and thirds of later that week, Thanks Mom!
Christmas Supper Venison sloppy joes & another huge spread - Thanks Dad!
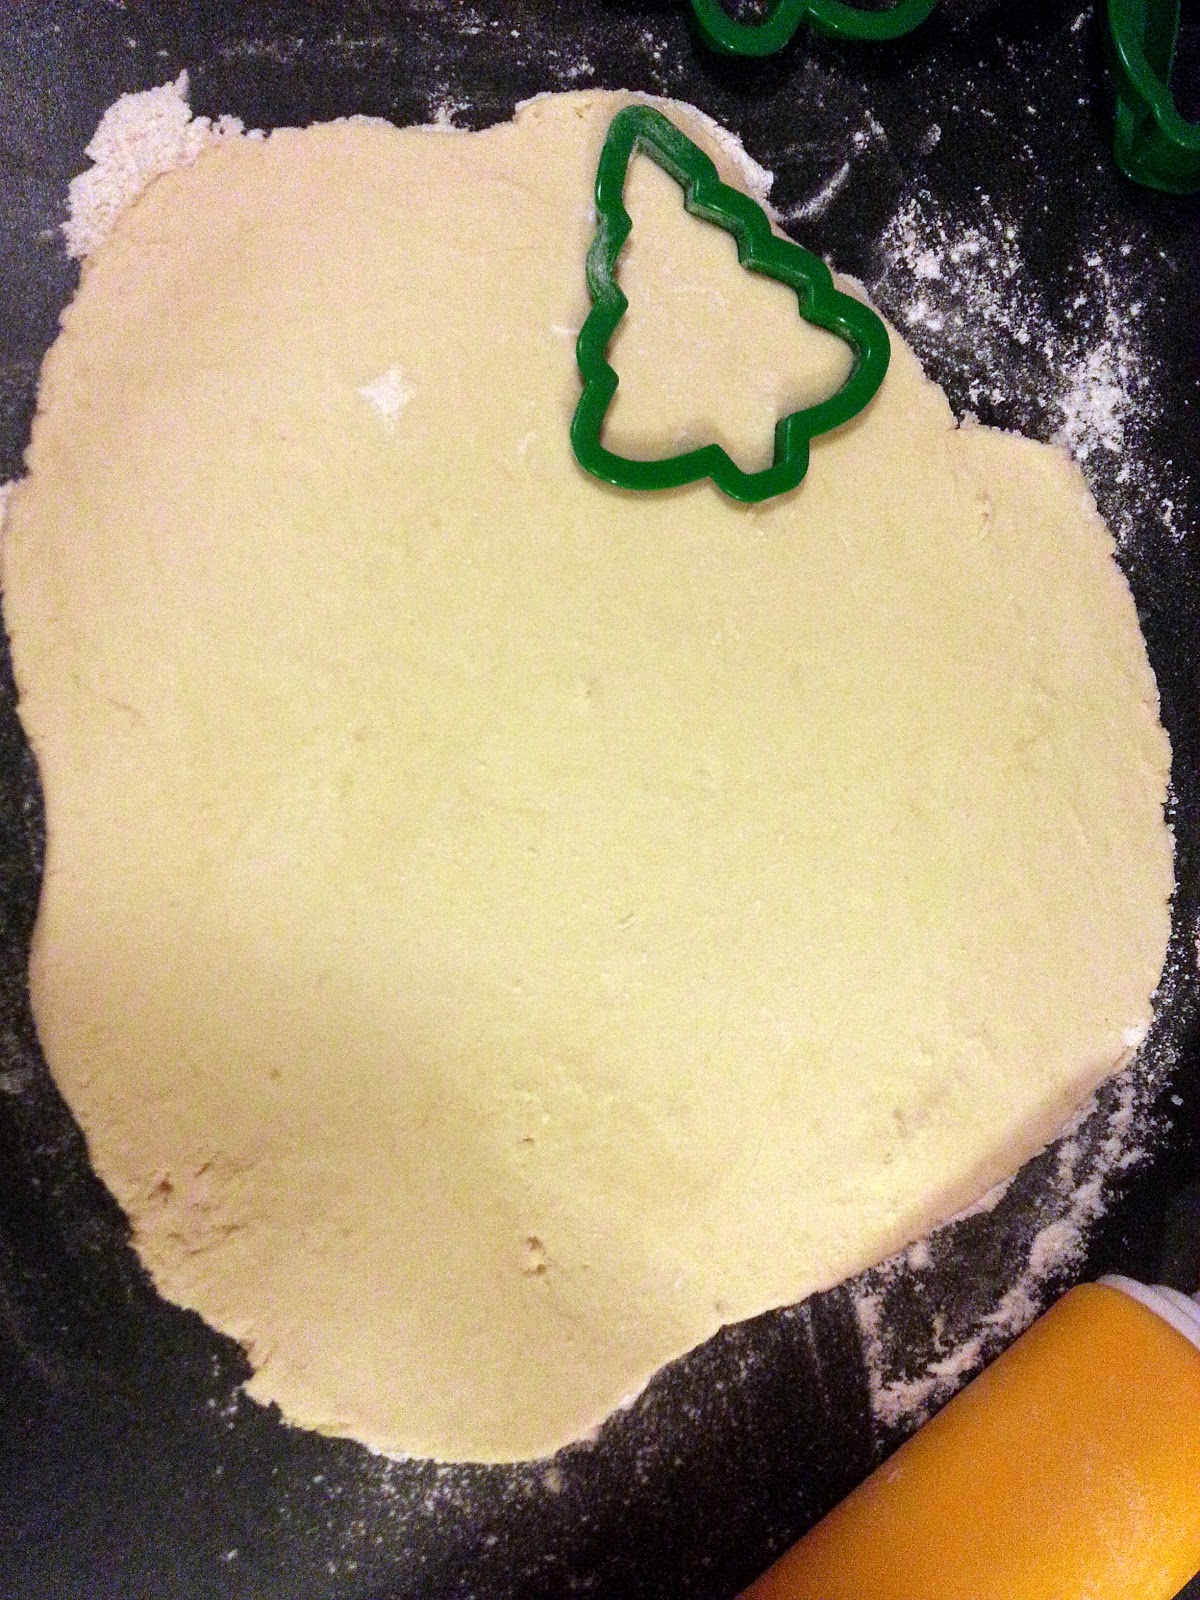
Christmas Cookies, OH THE CHRISTMAS COOKIES - Many MANY Sugar cookies, courtesy of my sister
Birthday Banana Cream Pie - My mom made me my birthday pie already! :)
More Pizza, etc, etc, etc

Should probably get on those New Year's Resolutions, now, eh?  I'm definitely going to be trying out some new recipes soon!  I have this Paleo Diet cookbook on my Kindle that I downloaded for free from Amazon a few months ago.  I've been meaning to try out some of the recipes in there, and I think I'll start doing that!  Of course I will take you on this journey with me.  Someone warn Andy that there may be Eggplant ahead.  The eggplant is coming, THE EGGPLANT IS COMING!!

In other news, I have been struck down with my most despicable sickness I've had in a very long time.  It started on the 26th with a slightly sore throat, and here we are today, four days later, still feeling like death warmed over.  Also, as a bonus, I have this cough that sounds like I've been a smoker since I was five years old.  Hacking, they call it?  Nothing is lovelier than a young woman hacking her brains out and using 500 tissues in a day.  I've also got this ambient noise going in my ears that sounds something like "WHUMMP, WHUUUMP, WHUUUMP".  Awesome.

At least I'm not alone with my sickness.  According to my Facebook wall, approximately 75% of my friends and/or their children are sick as well.  What is it about Christmas and sickness?  Probably the fact that all these people are getting together at once and talking in each other's faces and hugging hello/goodbye?  Or maybe being in shopping malls with 10,000 other people, touching the same door handles...  Ew.  WHERE IS THIS POST GOING?!  Ok, anyway, because of this I had to cancel some get-together's and head back home a couple days early.  What a bummer.  Sorry everybody!

In any case, I am looking forward to New Years, my Birthday (in 5 days), finishing out this next semester at school, getting my Master's degree, and the rest of what 2013 will bring.  Oh yeah, I'm turning 30 this year too.  YAY!

Here's a sneek peak at what is ahead:

Cat Grass or "Oliver's Obsession"


Winter Gardening or "This basil refuses to die"


Venison Chili or "No one knooooows!"


What did you eat too much of this past week?  Let me know in the comments!  And don't forget to follow me on Facebook and Twitter!

Saturday, December 22, 2012

How to make: Grandma Meyers Sugar Cookies


Today we are going to make sugar cookies.  Not just any ordinary sugar cookie, Grandma Meyers Sugar Cookies!

Look at these beauties!
I have no idea where this recipe actually came from, if my grandma made it up or got it from somewhere else.  Either way, this recipe has been in our family for a long time.  While the eggnog cookies I made before tasted like Christmas, these cookies feel like Christmas.  For as long as I can remember, we've made these cookies as a family during the holiday season, and it continues to this day.  My sister normally makes the cookies for the family, but I try to make them each year, even if it's just a small batch for Andy and me.  
This recipe is so good, I have TWO copies of it!  


Gather your ingredients...

Grandma Meyers Sugar Cookies
(1/2 recipe, makes 3 dozen cookies)

1 cup sugar
1 cup shortening
1 egg
1/2 cup milk
1 tsp vanilla
1 1/2 tsp baking soda
1 1/2 tsp baking powder
1/4 tsp salt
3 cups flour


Begin by mixing your sugar and shortening with an electric mixer.


Add your egg:


Add your vanilla and milk:


Combine all your dry ingredients separately and then add to the wet mixture slowly until all combined:


At this point, you may want to chill your dough for an hour or two or overnight.  I normally am not patient for this and keep going (which is ok), but the dough will be easier to work with if it's chilled.  When you're ready, turn your dough out onto a floured surface:


Roll the dough out to 1/4 inch thick, and start cutting with cute cookies cutters!


Place cookies on a greased cookie sheet.  I've been using this silicone baking surface lately.  If you use one of these, you do not need to grease the surface.


Bake for 4-7 minutes in a 425 degree oven.  You'll want to take extra care to watch these cookies while they cook.  They will burn very easily, depending on the exact temperature of your oven and the time they are left in.  You'll want to take them out when you see the edges just starting to brown.


The finished product!


Now you're ready to frost.  I make my frosting out of confectioner's sugar and water with a few drops of food coloring.


Serve with a cup of eggnog and enjoy!


If you liked this let me know in the comments!  And don't forget to follow me on Facebook and Twitter!


Tuesday, December 18, 2012

How to make: Felt Leaf Christmas Tree Skirt

Alright, so I don't have a Christmas Tree skirt.  In fact, I've NEVER had a Christmas tree skirt, even when I was growing up.  I guess this means that my Mom is really the one who never had a Christmas Tree skirt. (HI mom!)  Anyway, we basically just always took a festive tablecloth or sheet and bunched it under the tree.  Kind of like this!

This is in my apartment right now.  Yes, I have two Christmas trees.
Well, I decided that I should probably make one, since it's relatively simple, and I've always wanted to!

I decided #1 to make it green, and then secondly to do a leaf pattern.  Now, this may not be Christmasy to you guys, but I'm really obsessed with leaves and thought it would be cute!

Gather your tools:

1 yard of dark green felt for the main body of the skirt.

¼ yard of complementing lighter green felt.
Green thread
Fabric scissors or Rotary cutter


To begin, take your big piece of felt and cut it into a circle.  You can do this by folding it and cutting off the corners, refolding it in a different way, and cutting it again!  I repeated this again and again until I had achieved a nice circle.  


Then, I set that aside and started working on the complementary felt, which will be the leaves.  I cut a patter of the leaf out of a piece of plastic.


Lay the stencil down and cut out the leaves!  Keep cutting until you've got a NIIIIICE big bunch of them.


Alright, now is time to cut the hole in the middle of the skirt, where the tree trunk will go.  Begin by taking some sort of circular object in your house and mark the place where we should cut.  This box of mints works great!!


Cut a straight line up to that circle, and cut the circle out of the felt.  Something like this:


Now grab all those leaves you cut out:


Start laying down those leaves in a semi-random fashion.


Start pinning those down.


Grab your green thread and your sewing machine:


I really debated with myself how I'd sew this.  On one hand, I could sew a wide swath with curlicues that would get all the leaves at once.  That'd be fast and take less thread, but then it would look messy.  I decided to sew each leaf down individually, which really looked great.  Now, each leaf looks as if we are seeing the veins of the leaves.


And one good thing to do is to NOT run out of thread before you finish.  WHOOPSIES!  I just happened to have this green thread, and there was not much on this spool.  I think I may have inherited this from someone, because the spool looks vintage.


Here's how the leaves looked as I worked.  I didn't cut the thread in between leaves, because I was trying to   use the least amount of thread possible.  Plus, it went faster this way.  When you're all done, trim the thread between the leaves.


The finished product! (except a few leaves on the side, because I have to get more thread!)


It's sooo cute, isn't it?


I am loving it!


If you liked this let me know in the comments!  And don't forget to follow me on Facebook and Twitter!


How to make: Eggnog Cookies

Who likes eggnog?  I like it! me! me!  Most people I know don't really like it, most likely due to the thickness of it.  For me, I feel like it's a part of the tradition of the holiday.  Especially with a little nutmeg sprinkled on top!

"But Laurie, it's so thick and disgusting!!"

Well, I've got a better option for you.  Let's make it into a cookie, so you can get the flavor without the weird texture!


Gather your ingredients...

Eggnog Cookies
½ cup white sugar
¾ cup brown sugar
¾ cup butter, softened
½ cup eggnog
1 teaspoon vanilla extract
2 egg yolks
2¼ cups flour
1 tsp baking powder
½ tsp ground cinnamon
¾ tsp ground nutmeg


Preheat oven to 300°F.

Combine flour, baking powder, cinnamon and nutmeg.  Set aside.


Cream sugars and butter until light and fluffy


Add eggnog, vanilla, and egg yolks. Beat at medium speed with mixer until smooth.


Add flour mixture and beat at low speed until just combined. Do not overmix.


Drop by teaspoonfuls onto ungreased cookie sheet 1 inch apart. Sprinkle lightly with nutmeg.


Bake 20 to 23 minutes until bottoms turn light brown.


Enjoy!


If you liked this let me know in the comments!  And don't forget to follow me on Facebook and Twitter!


Monday, December 10, 2012

How to make: Fabric Cutout Christmas Cards

Hey guys!  How is everyone enjoying the Holiday season? I've been doing all sorts of awesome holiday things around the city the past couple weeks!  I'm finally finished my Christmas cards, and I decided to try one more style for you guys.  All you need is some fabric that you may have lying around, a pattern for the shape, and some card-stock for the cards!  (And glue)  You can either find a pattern you like on the internet or use cookie cutters, like I did.  

Spoiler alert, here's the final product:


I started with a snow man:
Mark the shape with a fabric pencil...


 Or in my case a sharpie.  And make sure you don't mark up your cookie cutter like I did.  WHOOPS!

Cut out your shape...


Glue it to the front of the cards...


And voila!  One ugly snowman card!  Hmm, let's see if we can do better.


Yess, this fabric will look nice.


Let's do a tree this time.


Normal pencil works on this one.  Make sure you mark on the back of the fabric.


Cut it out...


And glue it!  I like this one much better!


I've found that when I'm gluing the cards, the glue tends to make the card-stock bend.  Find the heaviest book you own and plop it down on top of the cards so they dry flat.  Here, this one will do!

Is this not the biggest book you've ever seen in your life?

After doing this, I went "OHH, I've got some leftover Christmas fabric in the bottom of that drawer!", like most people would say.  Let's repeat this process with actual Christmas fabric:


And here's the final product again!  Make sure you add text and decorate the insides accordingly.  CUUUTE! And SO easy!


If you liked this or you have some of your own DIY Christmas card ideas, let me know in the comments!  And don't forget to follow me on Facebook and Twitter!