
While perusing the grocery store recently, I made an impulse purchase. A coconut. Like a whole, unopened actual coconut. They were just sitting there, they were only $1 apiece, and I thought, "Oh, why not!!" Ok, so when getting a coconut home, the next thought that generally goes through your head is, "ummmmm, what do I do now?" After some successes and failures, I now feel that I am able to bestow some of my knowledge of coconuts upon the world! I will teach you how to open a coconut, extract the contents, make coconut milk and what you can do with the leftover pulp.
I grew interested in coconut milk in my attempt to find alternatives to regular milk for smoothies. A few sources I read had listed the many benefits from coconut milk. I knew you could buy it in cans in the store, but as anything like that, it's been processed and filled with preservatives. Now that I had this whole coconut, it seemed like making my own coconut milk would be the obvious next step.
Homemade Coconut Milk
by quinnstitch.blogspot.comyield: 1 to 2 cups
Materials
needlenose pliers
hammer
sharp knife
vegetable peeler or paring knife
blender
strainer or cheesecloth
Ingredients
1 coconut
1-2 cups hot water
Step 1: Choosing a coconut at the store: Give it a shake. You want to hear the coconut water sloshing around to ensure it is fresh!

Step 2: Drain the coconut water: Take a look at the end of the coconut, seen below. See those three "eyes"? One of those things is your entry point. One of them is going to be softer than the others.

Take your needle-nose pliers or screwdriver or whatever you've chosen to bore into this coconut, and poke around the eyes until you find the soft one. THEN BURROW!

When you've created a hole big enough for the water to come out, drain the water into a cup.

This water is delicious, nutritious, and full of rehydrating electrolytes! You know that fancy coconut water people buy? ....ahem. Yeah, it's basically this. ANYWAY, you can drink it to make sure the coconut is fresh, or add it to the coconut milk we're going to make. Your choice!!

Step 3: Open the coconut: I accomplished this with a towel, hammer and my hands holding them. Others may want to wrap it in a towel and set the coconut on a concrete surface and give it a whack. Seeing as I'd have to walk down three flights of stairs to reach a concrete sidewalk, and I didn't want to break the tiles of my kitchen floor, I did this by hand. It took a good 15-20 swings of the hammer before the cracks started to show:
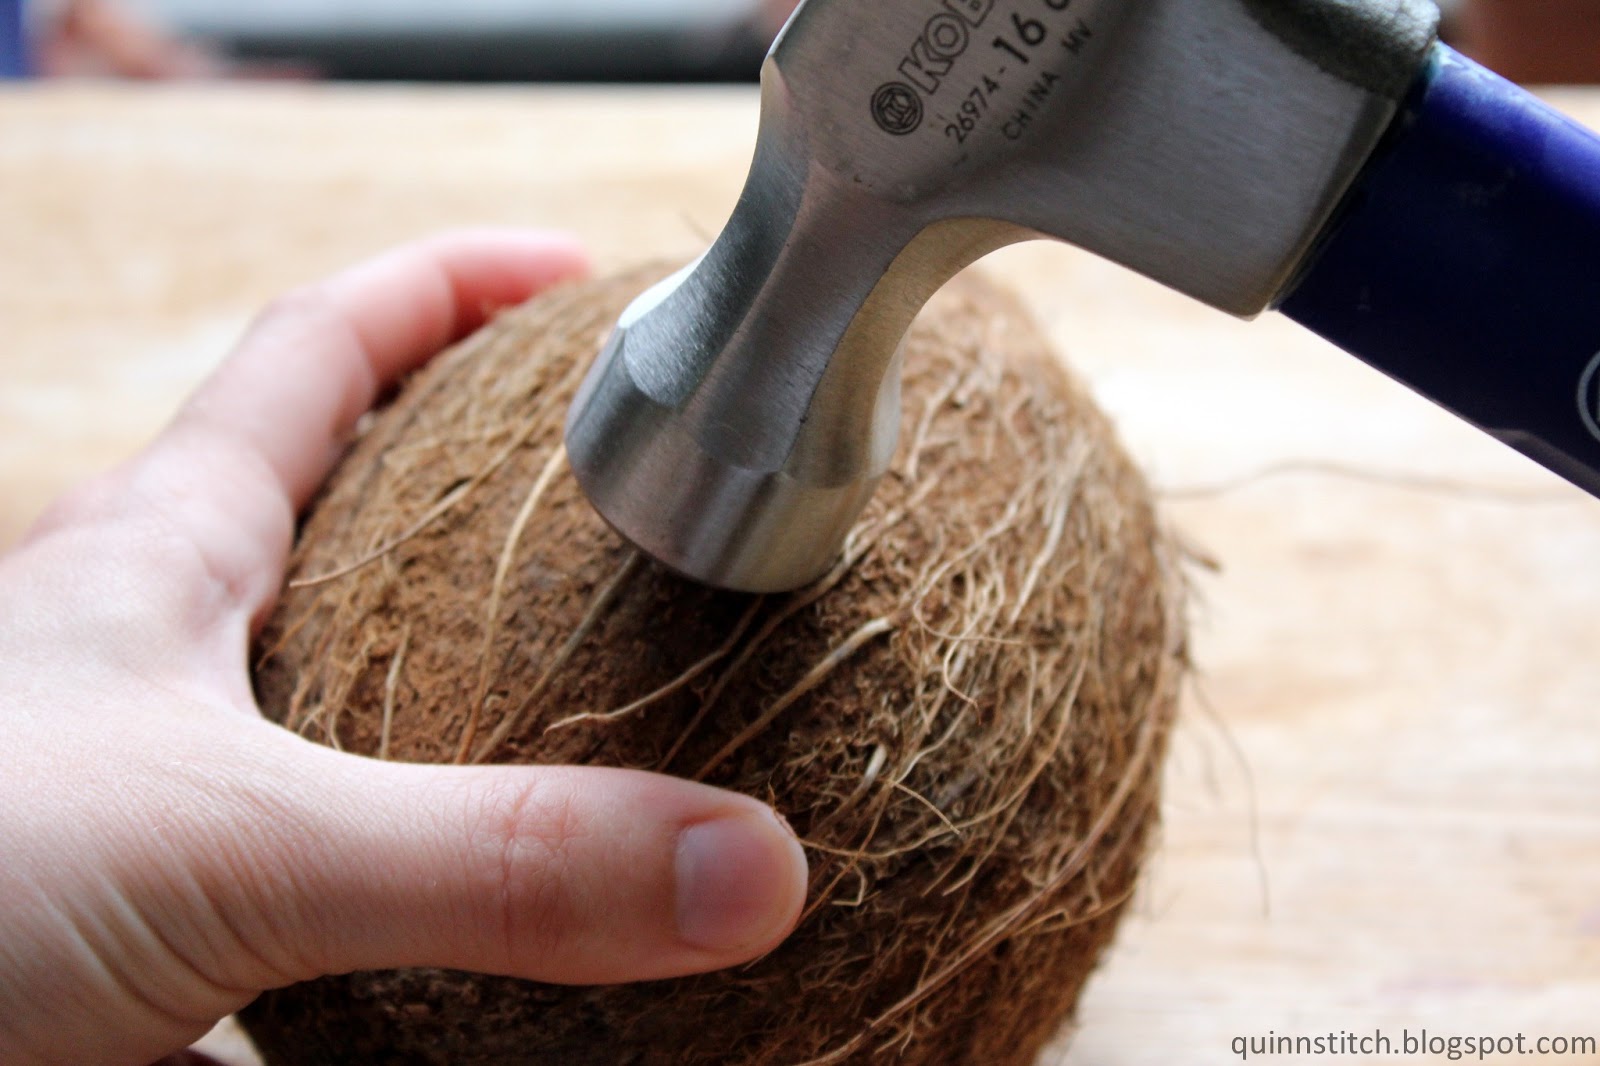

Couple more whacks will do it! And there you go:

Step 4: Begin extracting the coconut flesh by cutting into in with a sharp knife. Watch your fingers though!


Step 5: After extracting the coconut flesh, now the papery brown covering needs to be removed.

I was able to get the papery covering off with a vegetable peeler. This can also be done with a paring knife.

Give your coconut a rinse to get the rest of the husk off.

Step 5: Blend: I chopped the coconut into cubes and dropped them into my blender. This one coconut gave me about 2 to 2 1/2 cups of raw coconut.

I boiled 2 cups of water and added it to the coconut. The amount of water you add will change the texture of the coconut milk. Less water = more creamy, more water = more milk, but a bit less creamy. Blend until there is a nice smooth texture and all of the coconut is sufficiently blended.

Step 6: Strain: After blending, you need to strain out the milk from the pulp. This is normally done with cheese cloth or a fine strainer. I ran out of cheese cloth, but my regular strainer was sufficient to separate the pulp from the milk. Squeeze as much liquid out of the pulp as you can.
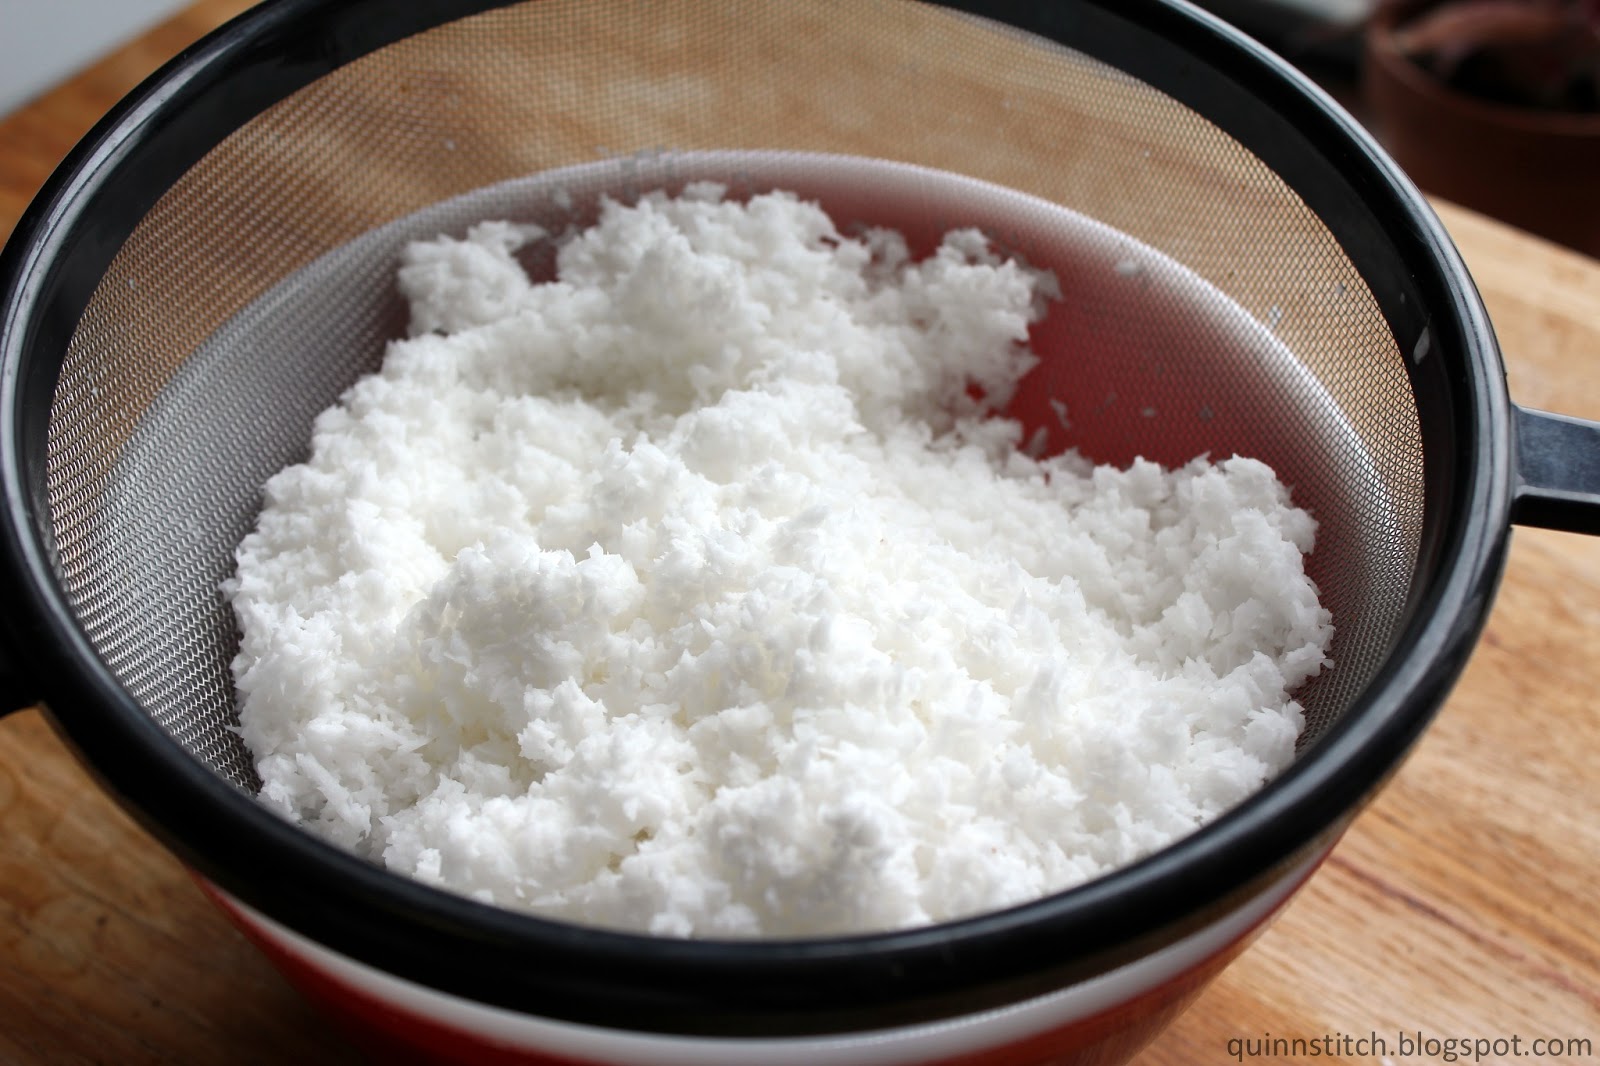
And here is the finished product! Aside from the coconut extraction process, making coconut milk takes less than five minutes, and couldn't be easier!

As you can see, I added 2 cups of hot water to the coconut, and I was able to yield almost as much milk from this process, about 2 cups.

When done, store in an airtight container and keep refrigerated. I reused a spaghetti sauce jar to store mine in! :)

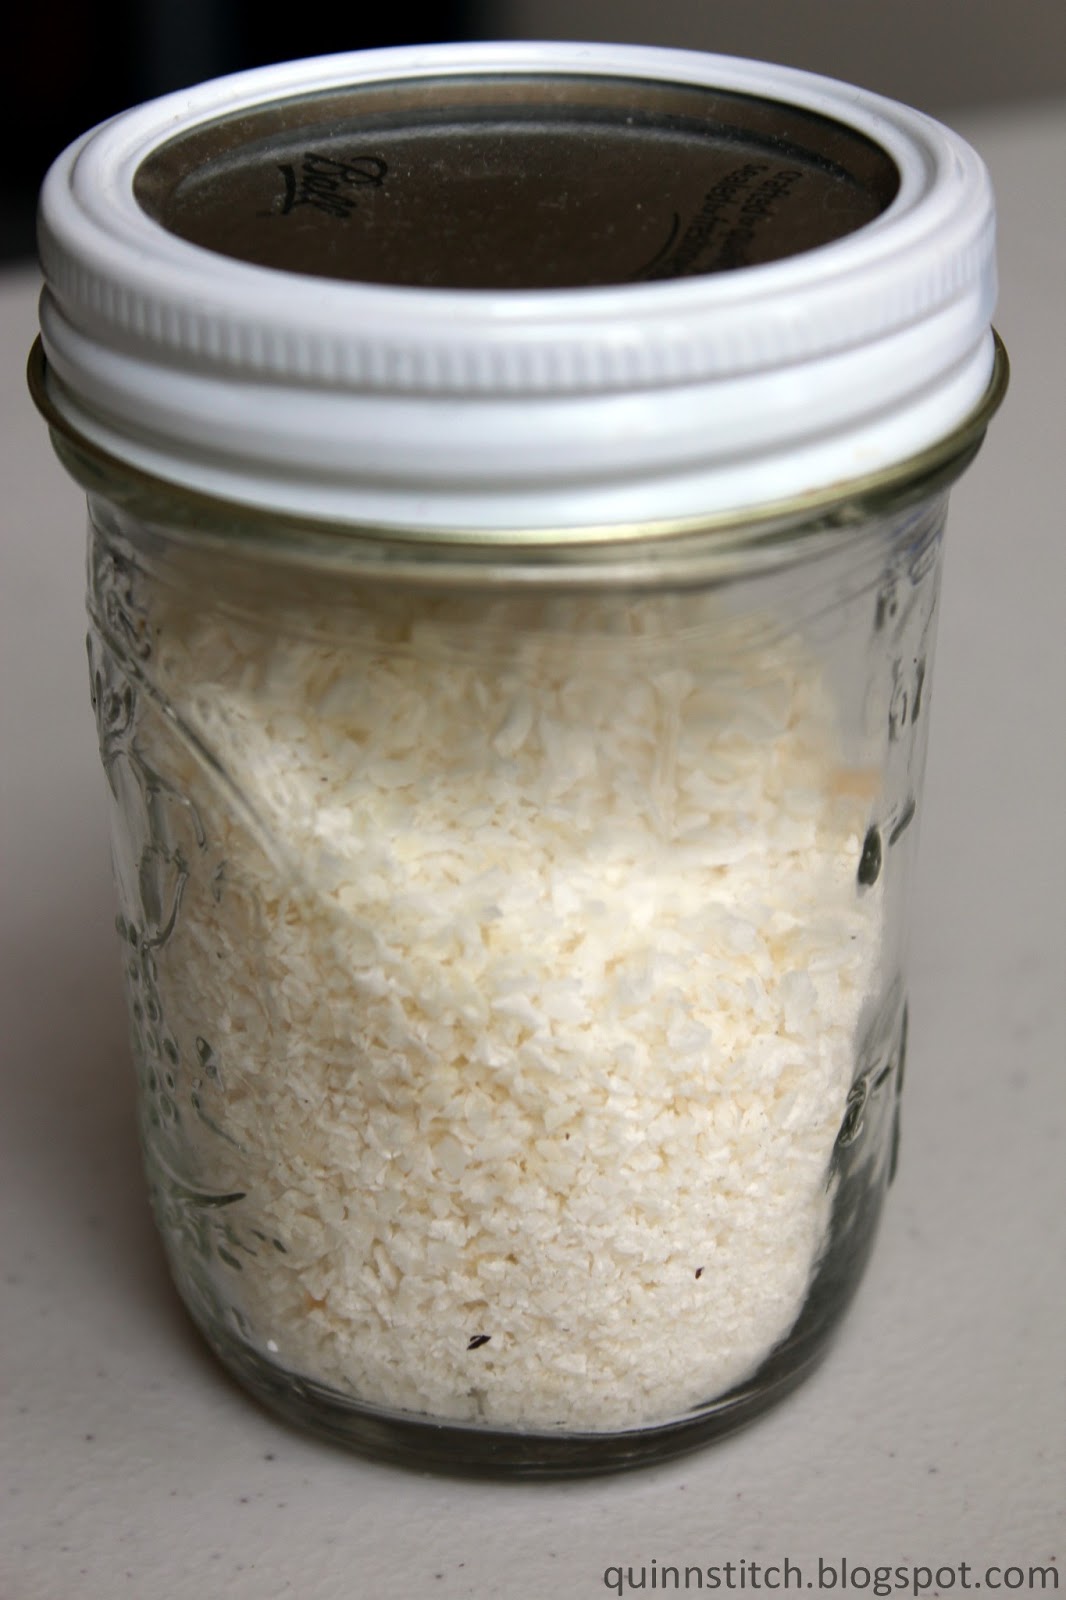
At this point, now you've got some extra coconut pulp. Don't throw it away! It's good to use too! Use immediately in baking, or cooking (coconut shrimp, anyone?) Or, alternatively, you can dehydrate the coconut for long-term use. If you have a dehydrator, GOOD FOR YOU, because I don't. What I do is spread the coconut pulp out on a baking sheet, and set it in my oven for a few hours. My oven has constant ambient heat from the pilot light which leaves it at about 90-100 degrees, which is perfect for this process, and I don't have to turn the oven on. If you have an oven that is able to be set at a low temperature, you can also do that.

I store my dehydrated coconut pulp in a leftover jelly jar for future baking!
If you have any questions, please let me know in the comments! I truly appreciate everyone who reads and comments, and would love to hear from you! If you like what you've seen here, please follow me on Facebook and Pinterest to receive updates.
This is awesome! You got so much use out of that one coconut! I would have never thought to keep the pulp and dry it out.
ReplyDelete